- LevelIntermediate
- Time4-6 hours
- Hook4.5 mm
- YarnWorsted
About This Pattern
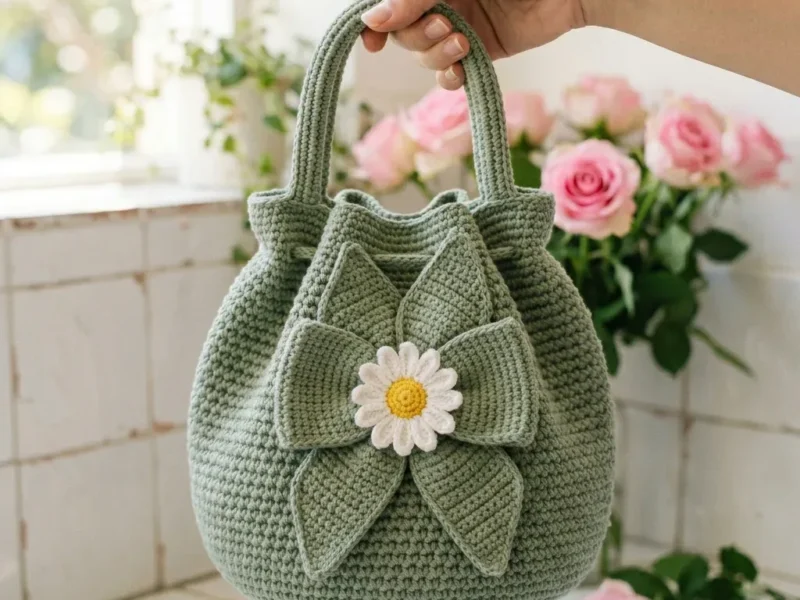
This one feels like a bag you would actually carry out the door, not a project that stays pinned to a cushion. It is a bucket shape with a soft gather at the top and a daisy bow pinned front and center like a little announcement. The mood is tidy and a bit playful, structured where it needs to be and relaxed everywhere else.
Your hands will spend most of their time in continuous single crochet, round after round, building a base that has to hold its shape on its own. There is a shift into short rows for the leaf panels, where you increase and then decrease to shape each petal point. The handles ask for patience too, worked in back loops only so a folded cord can slide inside later.
Picture it sitting on a kitchen counter or a chair by the door, structured enough to stand up straight without slumping. The sage body reads calm and a little botanical, while the ivory and gold daisy bow catches the eye from across the room. It looks like something you would reach for on a weekday, not something saved for display only.
- Start at the base with a magic ring and build outward in increasing rounds until the circle reaches its full width.
- Shape the top edge and run a gathering strand through the rim to pull the opening in gently.
- Make the large and small leaf panels separately, shaping each one with increases then decreases into a pointed tip.
- Pin the four large leaves into a wide X at the front, then tuck the four small leaves into the gaps between them.
- Crochet the handles as flat strips worked in back loops only, then fold each one around a soft cord and seam it into a tube.
- Sew a fabric lining with a bottom circle and a tube-shaped side piece, then stitch it in just below the gathered rim.
- Attach the handles and the finished daisy bow, and weave in any remaining ends.
On the desk
- Choose a yarn with body and low stretch. The bag needs structure to hold its bucket shape, so limp or stretchy yarns will not work well unless you plan to add a lining.
- Good options include Lion Brand 24/7 Cotton , Paintbox Yarns Cotton Aran , or Dishie Cotton Worsted . Any worsted or aran weight cotton, or a firm cotton and acrylic blend that matches gauge, will work beautifully.
Main yarn
- Approximately 285 yards (260 meters) of worsted or aran weight cotton blend yarn in sage green. For the daisy , you will need 16 yards (15 meters) of ivory and 5 yards (5 meters) of golden yellow.
Hook
- US 7 / 4.5 mm, or whatever size you need to match gauge.
Notions
- Locking stitch markers, yarn needle, scissors, pins. Optional items include a 6.5 inch (16.5 cm) round bag base insert, fabric lining, and magnetic snap closure.
Stitch shorthand
- Invisible join — Cut yarn and pull tail through final stitch. Thread tail on needle, insert under both loops of first stitch of round, then insert back into the center of the last stitch. Pull until it mimics a normal stitch. This creates a seamless finish.
- Surface slip stitch line — Hold yarn on wrong side of work. Insert hook from front to back, pull up a loop. Insert hook in next space, pull up a loop and pull it through the loop on hook. Keep tension relaxed so the fabric does not pucker.
- ch — chain: wrap yarn over hook and pull through loop on hook
- sl st — slip stitch: insert hook, yarn over, pull through stitch and loop on hook in one motion
- sc — single crochet: insert hook, yarn over and pull up a loop, yarn over and pull through both loops
- hdc — half double crochet: yarn over, insert hook, yarn over and pull up a loop, yarn over and pull through all three loops
- dc — double crochet: yarn over, insert hook, yarn over and pull up a loop, yarn over and pull through two loops, yarn over and pull through remaining two loops
- inc — increase: work 2 single crochet stitches in the same stitch
- sc2tog — single crochet two together (decrease): insert hook in next stitch, yarn over and pull up a loop, insert hook in following stitch, yarn over and pull up a loop, yarn over and pull through all 3 loops on hook
- BLO — back loop only: insert hook under only the back loop of the stitch instead of both loops
- RS — right side
- st(s) — stitch(es)
- rnd — round
- rep — repeat
Sage green daisy bow bucket bag crochet pattern
Main Pattern
Step by step: Ch 14. Sc in 2nd ch from hook and across. Turn. (13 sc); Ch 1, sc in each st across. Turn. (13 sc); Ch 1, inc, sc in next 11 sts, inc. Turn. (15 sc); through 6: Ch 1, sc in each st across. Turn. (15 sc).
Step by step: Make a magic ring.
- Round 1
6 sc in ring. (6 sc)
- Round 2
Inc in each st around. (12 sc)Step by step: (Sc in next st, inc) 6 times. (18 sc) Invisible join. Leave a long tail for sewing.
- Round 3
(Sc in next st, inc) 6 times. (18 sc)
- Round 4
(Sc in next 2 sts, inc) 6 times. (24 sc)
- Round 5
(Sc in next 3 sts, inc) 6 times. (30 sc)
- Round 6
(Sc in next 4 sts, inc) 6 times. (36 sc)
- Round 7
(Sc in next 5 sts, inc) 6 times. (42 sc)
- Round 8
(Sc in next 6 sts, inc) 6 times. (48 sc)
- Round 9
(Sc in next 7 sts, inc) 6 times. (54 sc)
- Round 10
(Sc in next 8 sts, inc) 6 times. (60 sc)
- Round 11
(Sc in next 9 sts, inc) 6 times. (66 sc)
- Round 12
(Sc in next 10 sts, inc) 6 times. (72 sc) Checkpoint: Your base should measure approximately 6.5 to 7 inches (16.5 to 18 cm) across and lie completely flat. Do not cut yarn.
Large Leaf Panel (Make 4)
- Round 1
Ch 18. Sc in 2nd ch from hook and across. Turn. (17 sc)
- Round 2
Ch 1, sc in each st across. Turn. (17 sc)
- Round 3
Ch 1, inc, sc in next 15 sts, inc. Turn. (19 sc)
- Round 4
through 8: Ch 1, sc in each st across. Turn. (19 sc)
- Round 9
Ch 1, sc2tog, sc in next 15 sts, sc2tog. Turn. (17 sc)
- Round 10
Ch 1, sc2tog, sc in next 13 sts, sc2tog. Turn. (15 sc)
- Round 11
Ch 1, sc2tog, sc in next 11 sts, sc2tog. Turn. (13 sc)
- Round 12
Ch 1, sc2tog, sc in next 9 sts, sc2tog. Turn. (11 sc)
- Round 13
Ch 1, sc2tog, sc in next 7 sts, sc2tog. Turn. (9 sc)
- Round 14
Ch 1, sc2tog, sc in next 5 sts, sc2tog. Turn. (7 sc)
- Round 15
Ch 1, sc2tog, sc in next 3 sts, sc2tog. Turn. (5 sc)
- Round 16
Ch 1, sc2tog, sc in next st, sc2tog. Turn. (3 sc)Ch 1, sc3tog. Do not turn. (1 st) Edging: Sc evenly around outer edge, placing 3 sc in pointed tip. Invisible join. (Approximately 40 to 44 sc)
- Round 17
Ch 1, sc3tog. Do not turn. (1 st) Edging: Sc evenly around outer edge, placing 3 sc in pointed tip. Invisible join. (Approximately 50 to 54 sc)For a raised rib detail, work a surface slip stitch from the base center of each large leaf to the tip. Keep it loose.
Handles (Make 2)
Each handle is a long BLO strip folded around a cord of yarn and seamed into a rounded tube. This creates a sturdy, structured handle that will not stretch out.
- Round 1
Ch 46. Sc in 2nd ch from hook and across. Turn. (45 sc)
- Round 2(45)
through 5: Ch 1, working BLO , sc in each st across. Turn. (45 sc each row)
- Round 6
Ch 1, sc in each st across through both loops. Fasten off, leaving a 24 inch (61 cm) tail. (45 sc)To finish: Lay 2 strands of sage yarn along the wrong side as a soft cord. Fold the strip lengthwise and whipstitch the long edges together. This creates a tube approximately 13 inches (33 cm) long.
Attaching handles: Place handle ends 2 inches (5 cm) apart at front and 2 inches (5 cm) apart at back. Sew each end securely over Rounds 38 through 42 with the long tail.Handle checkpoint: When held upright, handles should rise approximately 4.5 inches (11.5 cm) above the rim. Add or remove starting chains in pairs to change handle length.
Main Pattern
- Round 13
Working in BLO , sc in each st around to turn the base edge. (72 sc) This back loop only round creates a sharp edge where the base meets the walls of the bag.
- Round 14(72)
through 30: Sc in each st around. Keep marker aligned. (72 sc each round)
- Round 31
(Sc in next 10 sts, sc2tog) 6 times. (66 sc)
- Round 32(66)
through 34: Sc in each st around. (66 sc each round)
- Round 35
(Sc in next 9 sts, sc2tog) 6 times. (60 sc)
- Round 36
through 38: Sc in each st around. (60 sc each round) Checkpoint: Your body should be nicely rounded with a slightly narrower upper edge, measuring approximately 7.25 to 7.5 inches (18.5 to 19 cm) high from the base edge.
Top Edge and Gathered Shape
The top edge forms the soft bucket opening and creates the slight scalloped dips visible between the handles.
- Round 39
(Sc in next 8 sts, sc2tog) 6 times. (54 sc)
- Round 40
Sc in each st around. (54 sc)
- Round 41
Sc in each st around, working slightly tighter. (54 sc)
- Round 42
(Sl st in next st, sc in next st, hdc in next st, sc in next st, sl st in next st) 10 times, sl st in last 4 sts. (54 sts)
- Round 43
Sl st loosely in each st around. Invisible join. (54 sl sts) Top shaping tip: The 5 stitch scallop repeat uses 50 stitches, then the final 4 slip stitches sit at the back edge. Center one scallop dip at the front of the bag before sewing on the bow.
Where it goes
- An everyday carry bag for a farmers market run, paired with a denim jacket and flat sandals.
- A structured tote for carrying a knitting or crochet project in progress, since the firm base keeps yarn from tangling.
- A countertop catch-all for mail, keys, and sunglasses by the front door.
- A gift bag base for a smaller wrapped present, with the daisy bow doing the decorating work on its own.
Color ideas
- Classic garden Sage green for the entire bucket body, base, and handles, with the daisy bow worked in ivory petals and a golden yellow center.
- Tonal botanical Sage green for the main body and the large leaf panels behind the bow, ivory for the small leaf panels layered on top, and golden yellow kept only for the daisy center.
Care
Hand wash the finished bag in cool water since it is worked in cotton blend yarn, and avoid wringing the fibers.
Lay it flat to dry over a towel or on the bag base insert if you used one, so the bucket shape holds while drying.
Store it stuffed lightly with tissue paper or a cloth bag to keep the rounds from collapsing between uses.
Assembly
- Step 1 Blocking Tips: Cotton yarn relaxes with steam. Use gentle steam and hand shaping only. For crisp leaves, pin each leaf point outward and steam lightly. Let dry completely before sewing the daisy center tight.
Easy to get wrong
Skipping the gauge swatch
Since the bag's structure depends on tension, work a swatch first and size the hook up or down until it matches before starting the base.
Pulling the rim drawstring too tight
Thread the strand through every sixth stitch and pull just enough to smooth the gather, since it is meant to shape the rim, not cinch it closed.
Rushing the leaf panel shaping
Keep the increase and decrease rows for each leaf panel consistent on both sides so the eight panels match when pinned into the X formation.
Between the songs
- The satisfaction here is in watching flat rounds turn into something with actual architecture. You build a firm base, grow the body with continuous single crochet, then gather the rim so it curves inward instead of flopping open. The daisy bow is the real reward: eight separate leaf panels, each shaped with increases and decreases into a petal point, pinned into an X and layered into an eight pointed star. Add the back loop only handles folded around a soft cord, and you get a bag with real structural thinking in every part, not just a tube with straps.
Listener questions
Can I skip the fabric lining?
Yes, the lining is optional and mainly adds a polished interior and a spot for the magnetic snap. The bag will still hold its bucket shape from the cotton yarn alone if you matched gauge.
What happens if my gathered rim opening comes out too wide?
Pull the gathering strand a little more and re-knot it, since it threads through every sixth stitch and is adjustable until you are happy with it. It is purely decorative shaping, not a working drawstring, so there is no tension to worry about elsewhere.
Why are there two sizes of leaf panels for the bow?
The four large leaves sit behind the four small ones, and layering the two sizes is what creates the eight pointed star look. Without the size difference, the bow would read flat instead of dimensional.
Can I use a different cotton yarn than the ones listed?
Any worsted or aran weight cotton or firm cotton-acrylic blend works as long as it matches the gauge given. Avoid anything limp or very stretchy, since the bag relies on body to hold its bucket shape.
Do the handles really need the folded cord inside?
Yes, laying strands of yarn inside the folded back loop only strip is what keeps the handle from stretching out under weight. Skipping it will give you a flatter, floppier strap.
Original pattern: https://crochr.com/sage-green-daisy-bow-bucket-bag-free-crochet-pattern/
About the Author

Marisol QuinteroWho runs Crochet Obsessed, why a stitch count sits at the end of every round, how a pattern gets written here, and the things this site will never do.
More Patterns
- IntermediateNo. 01

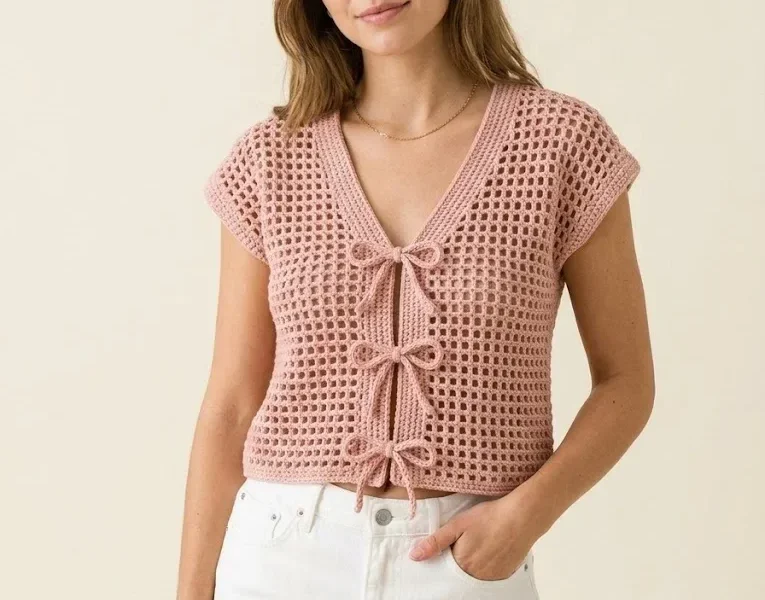
Blush pink bow front cardigan crochet pattern
Blush pink bow front crochet cardigan pattern builds a V-neck mesh cardigan with ribbed trim and soft tie…
- IntermediateNo. 02
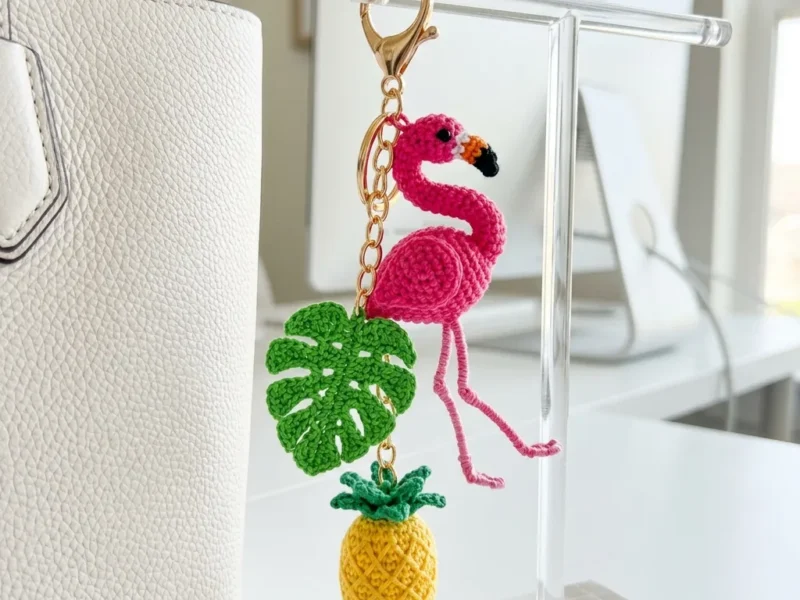
Flamingo, pineapple and monstera leaf charm trio pattern
Flamingo pineapple monstera leaf charm trio: tiny thread crochet and amigurumi shaping turn small motifs into three charming…
- IntermediateNo. 03
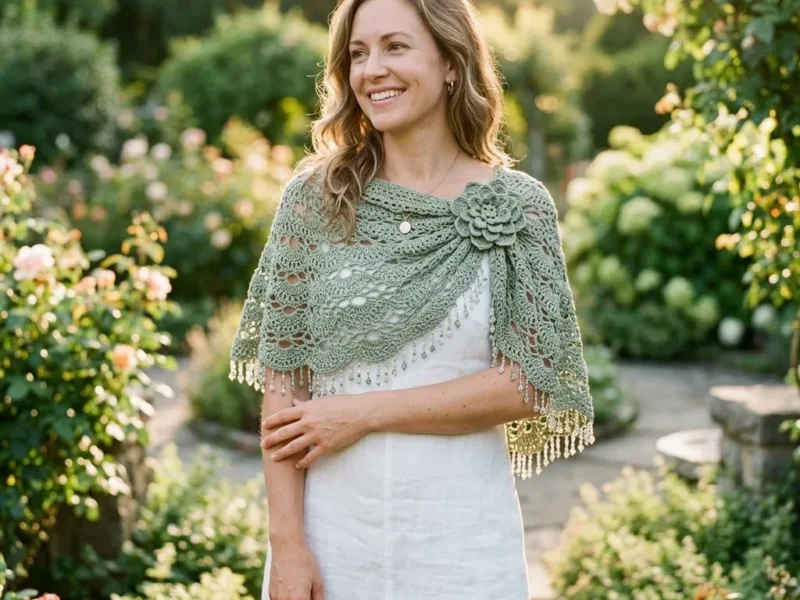
Sage green garden wrap with dimensional rose brooch
Sage green garden wrap crochet pattern: a flowing cotton capelet with beaded fringe and a rose brooch you'll…