- LevelIntermediate
- Time4-6 hours
- Hook3.5 mm
- YarnWorsted
About This Pattern
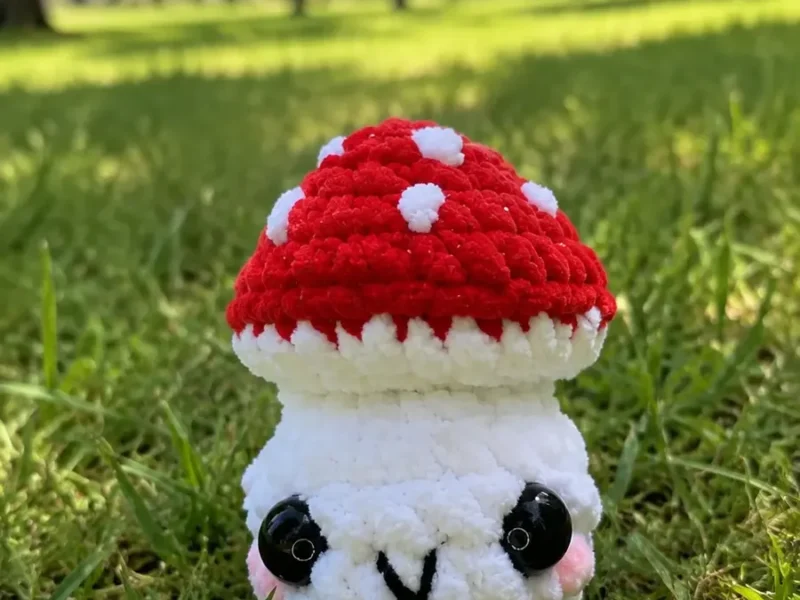
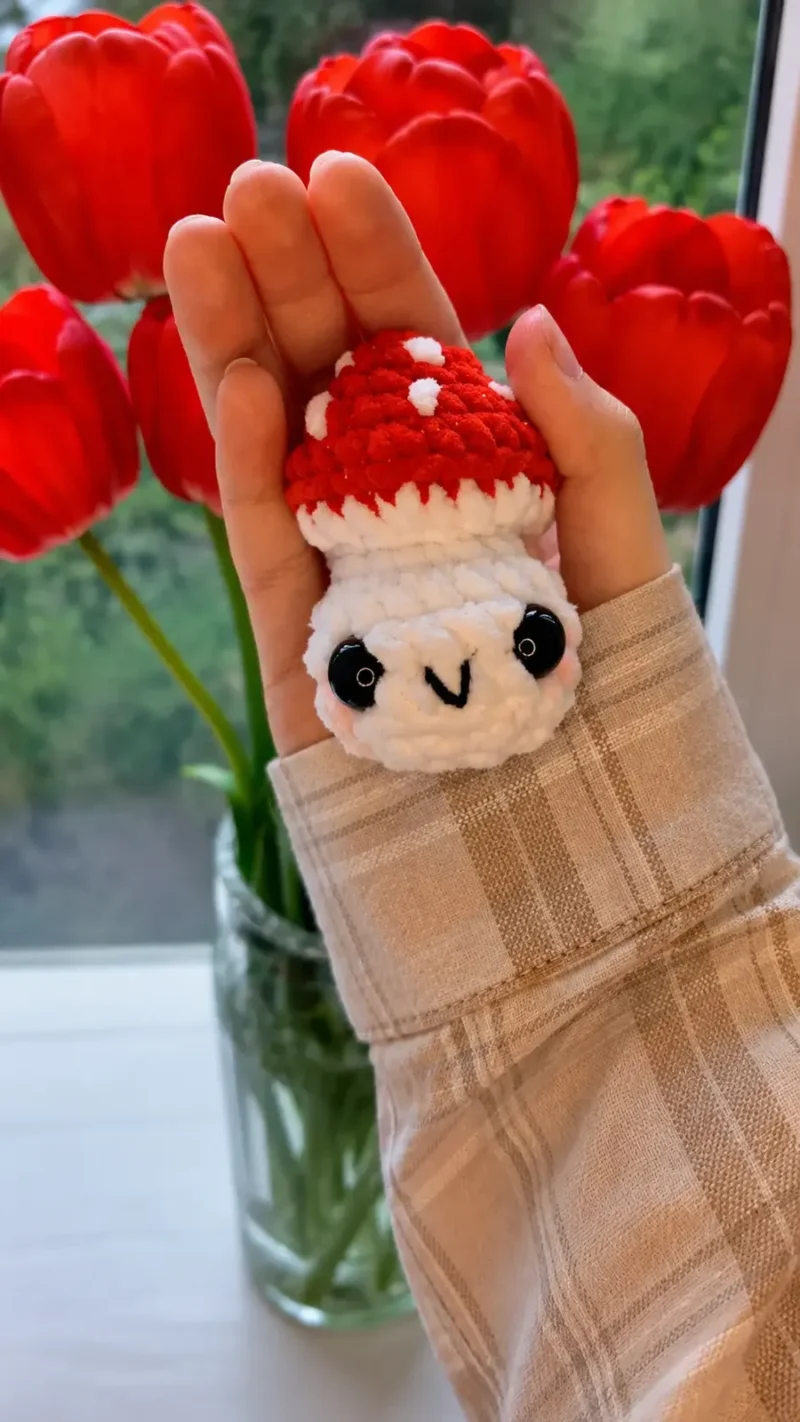
This little mushroom has that hushed, storybook quality, the kind of shape you'd expect to find tucked under a fern in an illustrated forest. There's nothing sharp or fussy about it. Every curve is soft, every line rounded, and the red cap against white gives it that classic toadstool charm without trying too hard.
Set on a shelf or windowsill, this mushroom reads as a small piece of woodland calm in an otherwise busy room. It sits well among plants, on a child's bed, or alongside other amigurumi without competing for attention. The velvet-soft fiber catches light differently than plain yarn, giving it a gentle glow.
- Start at the top of the cap with a magic ring in red plush yarn and build outward in increasing rounds.
- Keep a stitch marker at the start of every round since plush yarn hides your stitches easily.
- Stuff the cap firmly before you begin decreasing so the dome holds its rounded form.
- Insert the safety eyes at the point specified, centering them where the embroidered mouth will go.
- Work the second back loop only round to flatten the bottom into a stable base.
- Add extra stuffing to the base right before closing, then embroider french knot spots on the cap.
On the desk
- Plush yarn 120 m in 100 grams (Wolans Bunny Baby) main (white) and any color for the mushroom “cap”
- Crochet hook 3 – 3.5 mm
- Scissors
- Needle with a large eye (optional)
- Black thin yarn for embroidering the smile
- Glue-on eyes or 12 mm safety eyes
- Hollofiber stuffing
- Glue (Moment gel) for gluing eyes
Stitch shorthand
- puff — 3 dc in one stitch and with one top (unless specified otherwise in the pattern)
- MR — magic ring
- sc — single crochet
- dec — decrease
- inc — increase
- sl st — slip stitch
- ch — chain
- FLO — front loop only
- BLO — back loop only
- dc — double crochet
- hdc — half double crochet
Plush mushroom amigurumi with a soft velvet finish
Body
Step. We start crocheting with the mushroom cap.
Step. We start with red color!
- Round 1
6 sc in MR (6)
- Round 2
(1 sc, inc)*3 (9)
- Round 3
(2 sc, inc)*3 (12)
- Round 4
(1 sc, inc)*6 (18)
- Round 5
(2 sc, inc)*6 (24)
Step. Cut the thread of the additional color.
Step. Change thread color to white.
Step. The next round is worked in BLO!
- Round 6
BLO: (2 sc, dec)*6 (18)
- Round 7
9 dec (9)
- Round 8
9 inc (18)
- Rounds 9–11(18)
18 sc (18) (3 rounds)Step. Insert eyes between Round 10-11.
Step. Stuff the toy.Step. The next round, just like Round 6, is worked in BLO. - Round 12
9 dec (9)Step. Work an additional 3 dec. Stuff a little more as needed.
Step. Cut the thread and fasten off.Step. Embroider the mouth and cheeks on Round 11.
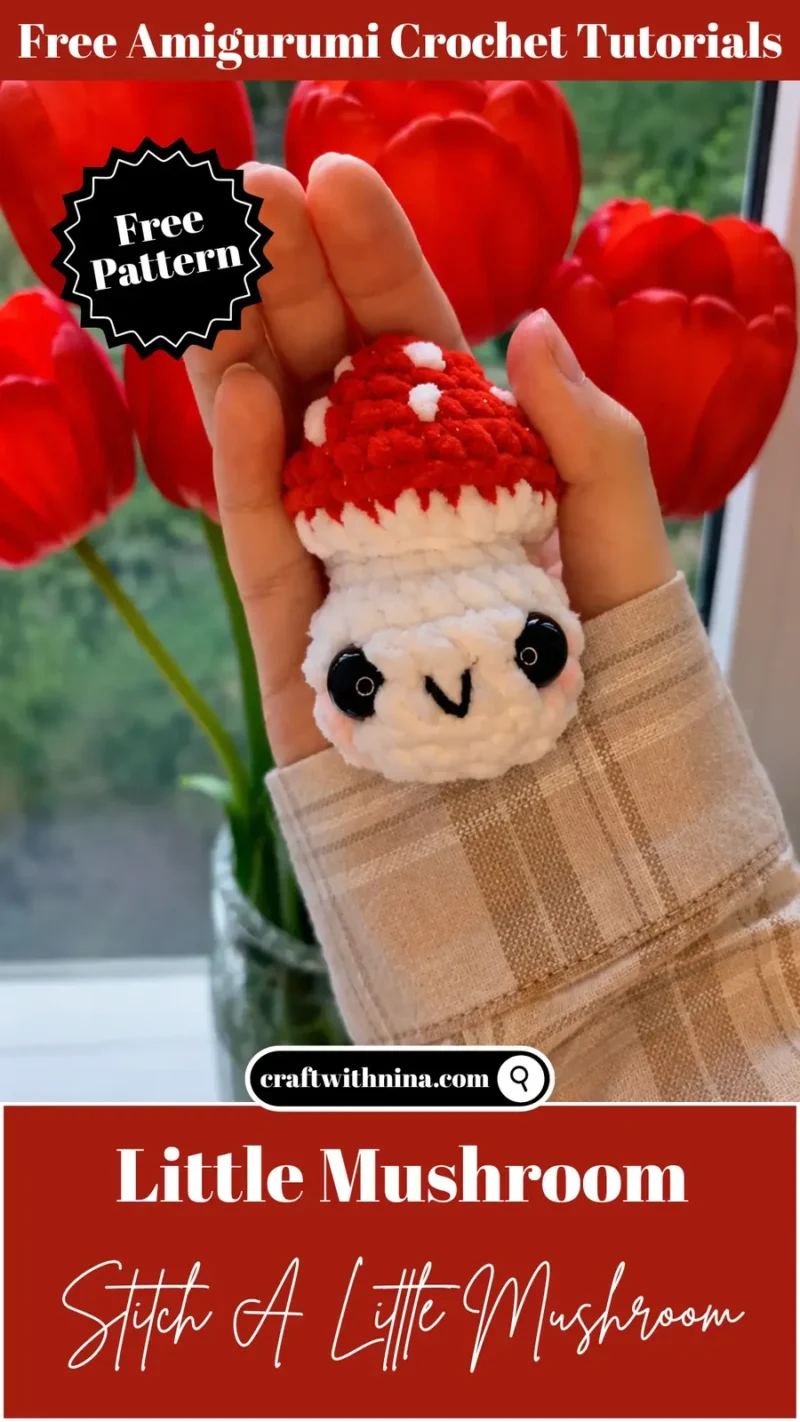
More shots
Where it goes
- Sits nicely on a nursery shelf alongside other soft toys and small plants for a cozy woodland corner.
- Makes a sweet handmade gift for a baby shower, paired with a knit blanket or wooden rattle.
- Works as a photo prop for seasonal-free nature or garden themed pictures, propped among leaves or moss.
- Doubles as a soft desk companion for a crochet lover's craft room, next to yarn baskets and hooks.
Color ideas
- Classic toadstool Red plush yarn for the cap rounds, white for the body and base, with white french knots as spots on the red cap.
- Any color you like You don't have to stick with traditional mushroom colors: try soft pink, warm brown, or mustard yellow for the cap, paired with white for the body and base, or whatever happens to be left over in your yarn basket.
Care
Hand wash the plush yarn body in cool water with a gentle soap, since machine washing can flatten the velvety pile.
Reshape the cap and base gently while damp and let the piece air dry flat, away from direct heat that can mat the fiber.
Store it stuffed and upright on a shelf rather than squashed in a bin, so the plush texture and rounded shape hold up over time.
Easy to get wrong
Losing track of stitches in plush yarn
Place a stitch marker at the start of every single round, not just the first one, since the fuzzy texture swallows stitch definition fast.
Working the wrong loop on shaping rounds
Double check you are in the back loop only for Round 6 and Round 12, since working both loops there flattens the intended cap curve and base shape.
Setting eyes before checking placement
Hold the eyes in place between Round 10 and Round 11 and eyeball the mouth position before you push the backs on, since safety eyes cannot be repositioned once secured.
Between the songs
- The satisfaction here comes from contrast: plush yarn is famously slippery to work with, so nailing your stitch counts round after round feels like a genuine win. Working Round 6 and Round 12 in back loops only is the real payoff moment, watching the cap curve and the base flatten out just from a change in where you insert your hook. Placing the 12 mm safety eyes between Round 10 and Round 11 is a small, precise task that suddenly gives the piece a face and a personality. And stitching french knots for spots on the cap is a lovely bit of embroidery that turns a simple red dome into an unmistakable mushroom. Each technique builds on the last toward something charming.
Listener questions
Can I make this project using standard acrylic yarn instead of plush yarn?
Yes, you can use regular worsted weight or DK weight yarn with a matching hook, though your finished mushroom will turn out smaller and firmer than the plush version.
What hook size works best for plush velvet yarn?
A 3.0 mm to 3.5 mm crochet hook is ideal because it keeps the stitches snug, preventing any white fiberfill stuffing from showing through the gaps.
Is the cap made separately and sewn to the base?
No, this pattern is worked seamlessly in one piece from the top of the cap all the way down through the base.
How do I attach glue-on eyes safely?
If you choose glue-on eyes instead of safety eyes, wait until the entire body is finished and stuffed, then use a small dot of fabric gel glue to secure them on Round 10 or 11.
Is this pattern suitable for crochet beginners?
Yes, this project is simple, uses basic amigurumi techniques like increases and decreases, and comes together very quickly in one sitting.
Original pattern: https://craftwithnina.com/free-amigurumi-pattern-little-mushroom-plush/
About the Author

Marisol QuinteroWho runs Crochet Obsessed, why a stitch count sits at the end of every round, how a pattern gets written here, and the things this site will never do.
More Patterns
- IntermediateNo. 01

Slouchy everyday beanie worked flat in half double crochet
Crochet beanie pattern for a slouchy everyday look worked flat with hdc rows, then seamed into a soft,…
- IntermediateNo. 02
Crochet amigurumi doll with dress, shoes, and hat
Crochet amigurumi doll pattern with dress, shoes, and hat details for a soft, huggable keepsake you build one…
- IntermediateNo. 03
Chunky moss stitch crochet sweater with raglan-free shoulders
Chunky crochet sweater pattern using moss stitch, worked flat with a 10mm hook for a soft, fast, cool-weather…


