- LevelIntermediate
- Time4-6 hours
- Hook9 mm
- YarnSuper Bulky
About This Pattern
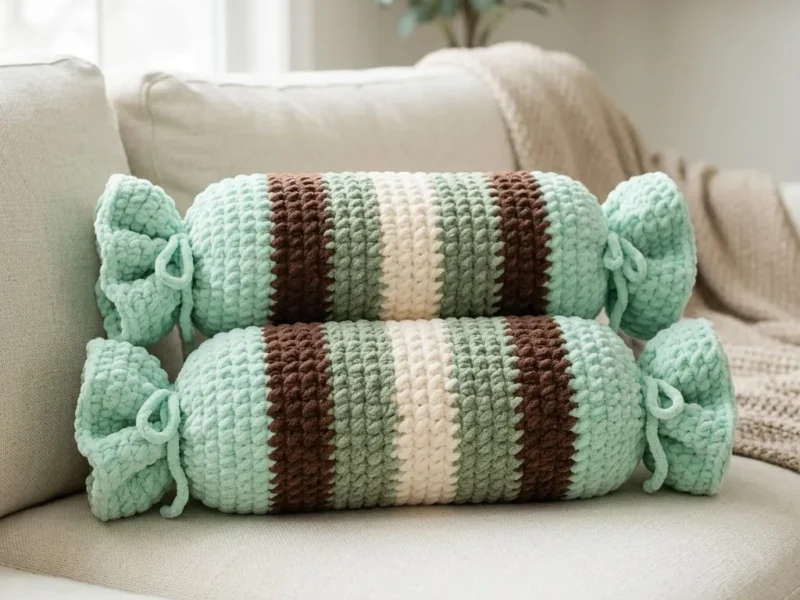
This one has a playful, sugary mood, like a piece of hard candy blown up to pillow size. The mint and chocolate brown palette reads sweet without tipping into anything too cute or cartoonish. It is the kind of make that gets a smile out of anyone who walks past it on the couch.
Your hands stay busy with single crochet through soft, forgiving chenille, so the fabric builds fast and dense. There is a rhythm to working the cylinder body in rounds, then shaping and closing the wrapper ends. Stuffing firmly as you go is part of the process, not an afterthought.
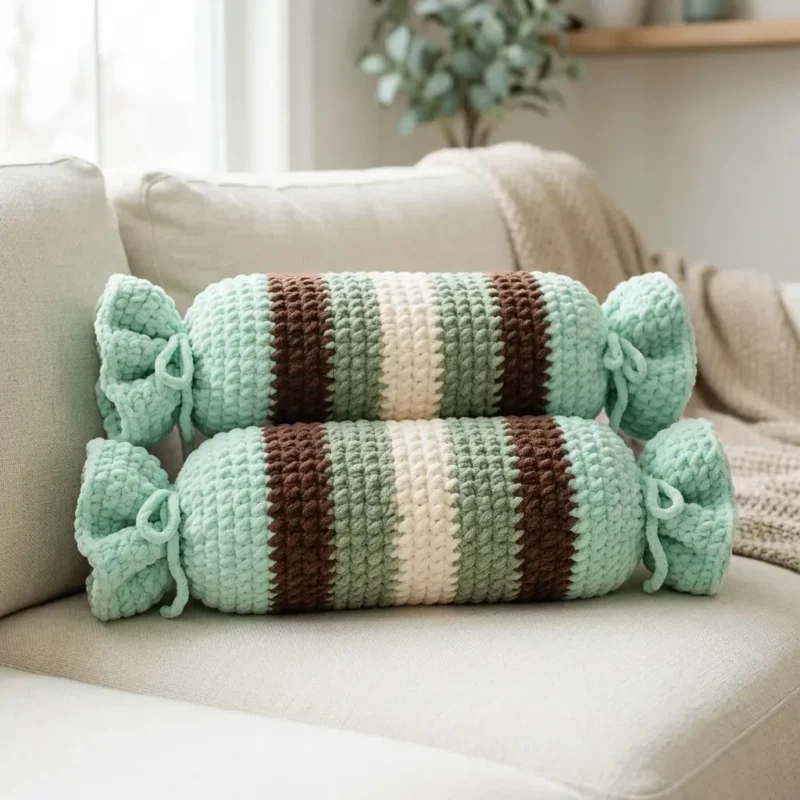
Finished, it sits on a sofa or bed like a piece of oversized candy someone left out. The chenille catches light in a soft, matte way that makes the mint and cream tones feel warm instead of cold. It is a low-key conversation piece that does not shout for attention.
- Start the mint body by working single crochet rounds to build the main cylinder shape.
- Keep your stitch tension even so the chenille tube stays a consistent width all the way along.
- Stuff the cylinder firmly with polyester fiberfill as the body takes shape, not just at the very end.
- Shape each end so it tapers and reads like a twisted candy wrapper rather than a flat cap.
- Bring in chocolate brown for the accent details that give the wrapper ends contrast and definition.
- Seam and close the ends with your tapestry needle, tucking stuffing into place before the last stitches.
- Weave in every yarn tail so the finished pillow has no loose ends showing on any side.
On the desk
Yarn
- Super bulky (Category 6) chenille yarn such as Bernat Blanket or similar
- Color A (Mint): Approximately 150 yards for the candy wrapper ends
- Color B (Cream/Off-White): Approximately 40 yards
- Color C (Sage Green): Approximately 30 yards
- Color D (Chocolate Brown): Approximately 40 yards
Hook
- Size 9mm (M/N-13) crochet hook, or size needed to achieve gauge
Notions
- Tapestry needle for weaving ends and seaming
- Stitch markers (optional but helpful)
- Polyester fiberfill stuffing, approximately 16 oz
- Scissors
- Gauge
- 8 single crochet stitches and 9 rows = 4 inches in single crochet with super bulky chenille yarn.
Stitch shorthand
- ch — chain
- st — stitch
- sts — stitches
- sc — single crochet
- fo — finish off
Mint chocolate candy wrapper bolster pillow pattern
Notions
Tapestry needle for weaving ends and seaming Stitch markers (optional but helpful)
Polyester fiberfill stuffing, approximately 16 oz Scissors Gauge 8 single crochet stitches and 9 rows = 4 inches in single crochet with super bulky chenille yarn.
Gauge matters here because it affects your final pillow size. If your gauge is off, your pillow will be larger or smaller than intended. Take a few minutes to check it. I promise it’s worth it.
Abbreviations and Stitch Definitions
Let me break down every abbreviation you’ll see in this pattern. Even if you know these stitches, a quick refresher never hurts.
Ch = Chain. Wrap yarn over hook, pull through loop on hook. This creates your foundation.
Sc = Single crochet. Insert hook into stitch, yarn over, pull up a loop (two loops on hook), yarn over, pull through both loops. This is the workhorse stitch for this entire pattern.
St(s) = Stitch(es). Refers to the loops you’re working into.
FO = Fasten off. Cut yarn, pull tail through last loop to secure.
Pattern Notes Before You Begin A few things to keep in mind as you work through this crochet tutorial:
Turning chains: The turning chain 1 at the beginning of each row does NOT count as a stitch. Work your first single crochet into the first stitch of the row.
Color changes: When changing colors, complete the last single crochet of the old color until you have two loops on your hook. Then yarn over with the new color and pull through to complete the stitch. This gives you a cleaner color transition.
Chenille yarn tips: This yarn can be slippery and sometimes splits. Work slowly, especially at the beginning. Good lighting helps you see your stitches more clearly.
Seaming: You’ll seam this tube with the wrong sides facing out, then flip it right side out for a cleaner seam.
Step by Step Crochet Pattern Main Body Panel
This pillow is worked flat as a rectangle, then seamed into a tube. The stripes create that beautiful candy wrapper effect.
With Color A (Mint), ch 37.
- Round 1
Sc in 2nd ch from hook and in each ch across, turn. (36 sts)
- Rounds 2–8
Ch 1, sc in each st across, turn. (36 sts) You now have a mint section approximately 3.5 inches tall. This forms the first candy wrapper end.
Color Change to Color D (Chocolate Brown)
- Round 9
Ch 1, sc in each st across, turn. (36 sts)
- Rounds 10–12
Ch 1, sc in each st across, turn. (36 sts) Fasten off Color D. You have a brown stripe approximately 1.5 inches tall.
Color Change to Color C (Sage Green)
- Round 13
Join Color C, ch 1, sc in each st across, turn. (36 sts)
- Rounds 14–16
Ch 1, sc in each st across, turn. (36 sts) Fasten off Color C. Color Change to Color B (Cream)
- Round 17
Join Color B, ch 1, sc in each st across, turn. (36 sts)
- Rounds 18–24
Ch 1, sc in each st across, turn. (36 sts) This cream section is the widest stripe, creating a nice visual center. Fasten off Color B.
Color Change to Color C (Sage Green)
- Round 25
Join Color C, ch 1, sc in each st across, turn. (36 sts)
- Rounds 26–28
Ch 1, sc in each st across, turn. (36 sts) Fasten off Color C. Color Change to Color D (Chocolate Brown)
- Round 29
Join Color D, ch 1, sc in each st across, turn. (36 sts)
- Rounds 30–32
Ch 1, sc in each st across, turn. (36 sts) Fasten off Color D. Color Change to Color A (Mint)
- Round 33
Join Color A, ch 1, sc in each st across, turn. (36 sts)
- Rounds 34–40
Ch 1, sc in each st across, turn. (36 sts) Fasten off Color A, leaving a long tail approximately 24 inches for seaming.
Your completed panel should measure approximately 18 inches wide by 22 inches tall .
Seaming the Tube Now we turn this flat panel into a cylinder. Don’t worry, this is easier than it sounds.
1. Fold your panel in half lengthwise with wrong sides facing outward.
2. Using your tapestry needle and the long tail from your last row, whip stitch the long edges together. Work through both layers, keeping your stitches even and not too tight.
3. When you reach the end, secure your yarn but don’t cut it yet. You can use this same tail to help with the finishing if needed.
4. Turn your tube right side out. The seam should now be hidden on the inside.
Gathering the Candy Ends This is where the magic happens and your pillow transforms into a piece of candy.
Making the Drawstring Ties (make 2): With Color A, ch 80. Fasten off.
Alternatively, you can cut a strand of yarn approximately 36 inches long. Both methods work beautifully.
More shots
Where it goes
- A bolster accent on a sofa or window seat, paired with plain linen throw pillows so it stands out as the focal point.
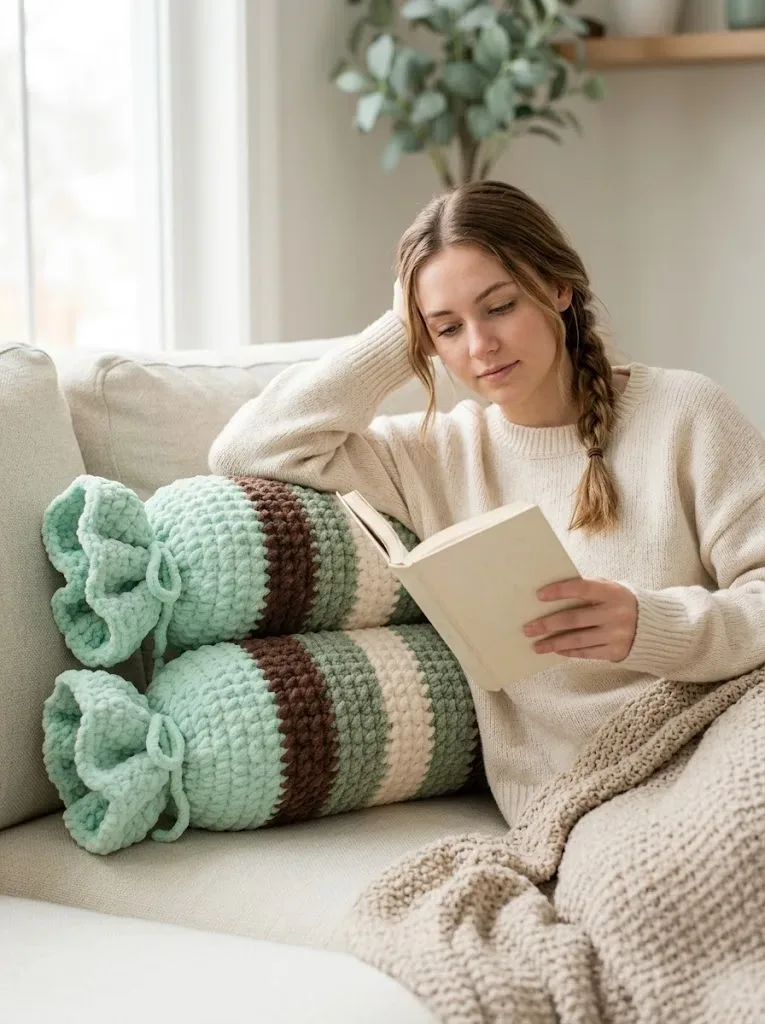
- A reading nook prop tucked behind your back or under an elbow, next to a knit throw in a matching cream or sage tone.
- A playful nursery or kid's room accent, set on a shelf or floor cushion alongside other soft amigurumi-style pieces.
- A photo or display prop for a craft room or maker's shelf, shown next to other chenille projects in similar colors.
Color ideas
- Classic Mint Chocolate Color A mint covers the full body cylinder, Color D chocolate brown defines the wrapper-end twists, and Color C sage green and Color B cream fill in the remaining wrapper details.
- Cream Forward Color B cream takes the larger share of the wrapper ends, Color A mint stays on the body, and Color D chocolate brown and Color C sage green sit as narrow accent bands at the twist points.
Care
Chenille yarn like this holds up well to a gentle machine wash on a cold, delicate cycle, but spot cleaning is the safer first choice for a stuffed piece.
Air dry the pillow flat or standing upright rather than using heat, since high heat can flatten or fuse chenille fibers.
Store it somewhere it can keep its round shape, and give it a gentle fluff and reshape by hand after time in storage.
Easy to get wrong
Loose gauge in chenille rounds
Check your gauge swatch before starting since 8 single crochet stitches and 9 rows should equal 4 inches; a looser gauge will make the pillow larger and floppier than planned.
Underfilling the bolster body
Add fiberfill gradually as you work the rounds rather than stuffing all at once at the end, so the cylinder holds its shape evenly along its length.
Flat, undefined wrapper ends
Take care with the shaping rounds at each end so they taper the way a real candy wrapper twists, rather than closing off in a flat circle.
Between the songs
- The satisfaction here is in the shape itself. Working a cylinder in single crochet rounds with super bulky chenille means the tube grows quickly, and you can feel the bolster form taking shape almost row by row. The real charm is in the wrapper ends: closing them off so they read like twisted candy paper, using the sage green and chocolate brown to define that detail against the mint body. It is a simple stitch vocabulary doing a lot of visual work. There is also something satisfying about handling chenille yarn itself, that plush, soft-focus texture that makes even a beginner's single crochet look tidy and finished.
Listener questions
Can I use a different chenille brand than the one listed
Yes, any super bulky category 6 chenille yarn should work as long as you match the gauge of 8 single crochet stitches and 9 rows to 4 inches. Just keep an eye on how the substitute yarn's thickness compares before you commit to a full skein.
How much yarn do I really need in each color
Plan on about 150 yards of Color A mint for the body, and around 40 yards each of Color B cream and Color D chocolate brown, plus 30 yards of Color C sage green for the wrapper details. Buying a touch extra in each color is a reasonable safety net for a bulky yarn project.
What size hook does this pattern call
The pattern uses a 9mm hook, sized M/N-13, or whatever hook gets you to the stated gauge. Chenille yarn can vary in thickness between brands, so adjust the hook size if your swatch runs tight or loose.
How much stuffing should I plan on using
The materials list calls for approximately 16 ounces of polyester fiberfill for the whole bolster. Stuffing firmly and evenly as you close the wrapper ends keeps the cylinder shape from sagging.
Is this a good project if I am still new to crochet
The stitch work itself is straightforward single crochet, which makes it approachable, though shaping the tapered wrapper ends takes a little patience. If you are comfortable working in continuous rounds, this pattern is a reasonable next step.
Original pattern: https://crochetwithmia.com/mint-chocolate-candy-bolster-pillow-free-crochet-pattern/
About the Author

Marisol QuinteroWho runs Crochet Obsessed, why a stitch count sits at the end of every round, how a pattern gets written here, and the things this site will never do.
More Patterns
- BeginnerNo. 01

Waffle Stitch Pillow Cover: An Easy Textured Crochet Pattern
Crochet a cozy 15x15-inch waffle stitch pillow cover with two simple panels, worsted yarn and a 5mm hook.…
- IntermediateNo. 02
Slouchy everyday beanie worked flat in half double crochet
Crochet beanie pattern for a slouchy everyday look worked flat with hdc rows, then seamed into a soft,…
- IntermediateNo. 03
Crochet amigurumi doll with dress, shoes, and hat
Crochet amigurumi doll pattern with dress, shoes, and hat details for a soft, huggable keepsake you build one…