- LevelBeginner
- Time6-8 Hours
- Hook5 mm
- YarnWorsted
About This Pattern
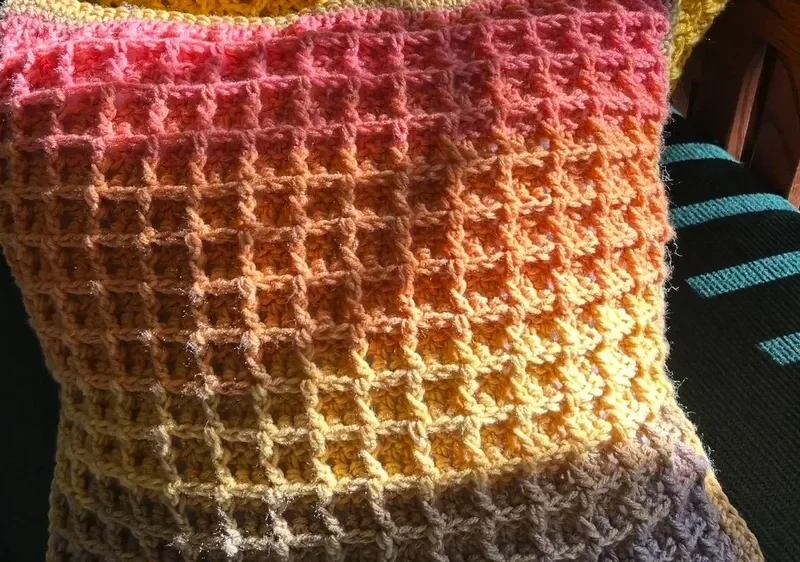
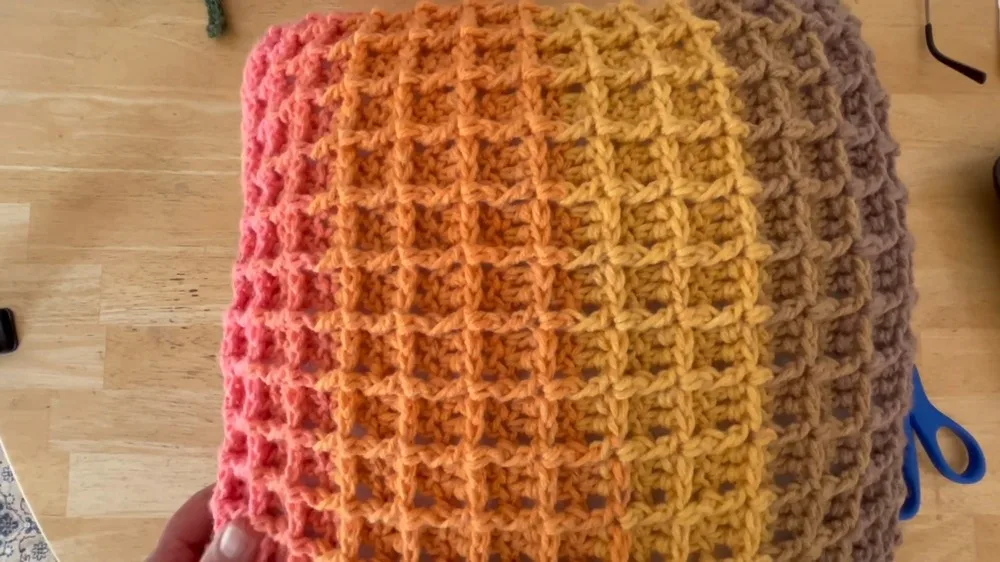
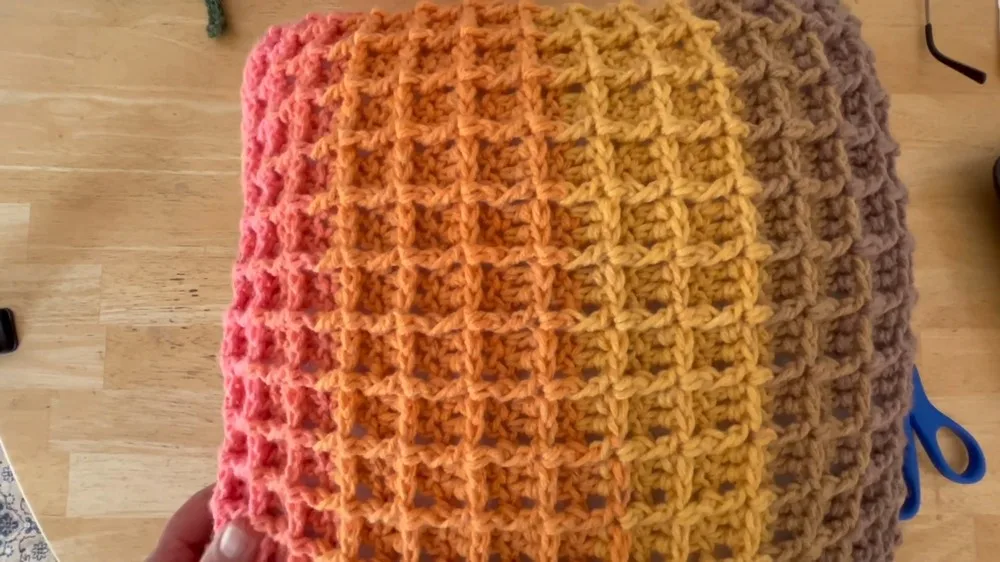
This pattern turns two simple crocheted panels into a plush 15x15-inch pillow cover worked entirely in the waffle stitch. What makes it special is how much texture you get from such a short list of skills: a foundation chain, a row of double crochet, and then a repeating two-row rhythm that builds those deep little squares. It's the perfect make for someone who wants their crochet to look impressive on the couch without wrestling with shaping, color changes, or complicated stitch counts.
Technique-wise, you're working flat rows rather than rounds. Row 1 is straight double crochet to establish the base, then Rows 2 and 3 repeat until the panel reaches the size you want. Edges are tidied with single crochet, and the two panels are joined with single crochet along three sides. Everything is worked with a 5mm (H) hook in medium weight size 4 yarn. Expect to spend roughly 6 to 8 hours total across both panels, spread comfortably over a weekend.
The finished cover measures about 15x15 inches and slips over a standard pillow form, with the fourth side closed by single crochet once the insert is in place. The waffle texture gives it real depth, so the pillow catches light and shadow instead of reading flat. Made in Caron One Pound it looks crisp and classic; in Caron Jumbo Ombre it shifts color across the grid. It's a genuinely giftable housewarming piece that people assume took far more skill than it did.
- Start with a slip knot and chain to the width you want your finished pillow panel to be.
- Work Row 1 in double crochet across the chain to build a solid base for the texture.
- Repeat Rows 2 and 3 over and over, watching the waffle grid build as you go.
- Keep going until the panel measures about 15 inches to match your pillow.
- Edge the finished panel all the way around with single crochet for a clean, even border.
- Make a second panel exactly the same way, matching the first in size and repeat count.
- Join the two panels with single crochet along three sides, leaving the fourth side open.
- Insert the pillow, close the last side with single crochet, then hide the ends with a yarn needle.
Materials
Yarn
- The tutorial uses two types of medium-weight, size 4 yarn—Caron One Pound (16 oz) and Caron Jumbo Ombre (12 oz).
Hook Size
- A 5mm crochet hook (H size).
Additional Tools
- Scissors and a yarn needle for hiding loose ends after finishing the project.
Crochet Abbreviations
- ch
- chain
- st
- stitch
- sl st
- slip stitch
- sc
- single crochet
- hdc
- half double crochet
- dc
- double crochet
- inc
- increase
- dec
- decrease
- mr
- magic ring
- fo
- finish off
Waffle Stitch Pillow Cover: An Easy Textured Crochet Pattern
Main Pattern
- Round 1
Double Crochet In Row 1, double crochet stitches are used to build the foundation of the pattern. This row sets the groundwork for subsequent waffle stitch rows. The tutorial provides clear instructions on how to execute double crochet step by step, ensuring proper stitch placement for beginners.
- Round 2
Alternating Double Crochet and Front Post Double Crochet
- Round 2
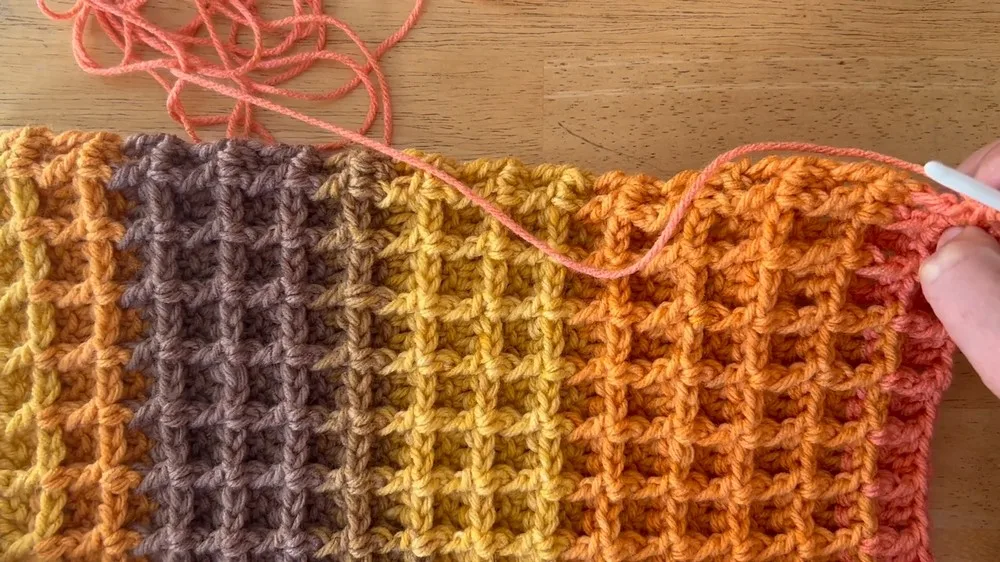
introduces the waffle stitch texture by alternating regular double crochet stitches with front post double crochet stitches. These front post stitches are worked by inserting the hook around the “post” of the stitch from the previous row, creating the signature waffle-like ridges. The instructor explains the stitch technique in detail, highlighting key tips for accuracy and consistency.
- Round 3
alternates between two front post double crochet stitches followed by one regular double crochet stitch. This row builds on Row 2’s texture while slightly varying the stitch sequence. The instructor emphasizes how alternating rows (Row 2 and Row 3) form the classic waffle stitch pattern. Viewers are reminded that repeating these rows will set the overall texture of the project.
More photos
Important Notes
- 💡 The pattern is written for a 5mm (H) hook with medium weight size 4 yarn, and that pairing is what gives the waffle its structure. Going down a hook size makes a denser, firmer cover that holds shape better; going up makes it drapey and lets stuffing peek through.
- 💡 Measure your panel flat and unstretched, not while it's hanging from your hand. Waffle stitch has a lot of give, and a panel that measures 15 inches when tugged will slump to 13 inches once it's off the hook.
- 💡 Keep a stitch marker in the front of your work at the start of each Row 2 repeat. Because Rows 2 and 3 alternate, a marker is the fastest way to pick the project back up after a break without squinting at the texture to figure out where you left off.
- 💡 If you're using both the Caron One Pound and the Caron Jumbo Ombre, wind the ombre into a cake first and note where the color run starts, so you can begin the second panel at the same point and get matching color placement across both sides.
- 💡 Leave a generous tail, around 18 inches, when you finish each panel. You'll want the extra length for the single crochet join, and running out mid-seam means an extra join and one more end to hide.
- 💡 Do your weaving in with the yarn needle before you insert the pillow form, not after. Once the insert is in, the fabric is under tension and it's much harder to slide the needle between stitches cleanly.
- 💡 A 16-inch pillow form in a 15-inch cover gives you that plump, full look rather than a saggy one. If your cover came out slightly large, size the insert up rather than trying to add rows.
Common Mistakes and Fixes
- Making the foundation chain too short or too long, so the panel never matches a 15-inch pillow.
Chain loosely, then lay the chain along your pillow form before working Row 1. The chain should span the full width with a little slack, because the waffle texture pulls the fabric in noticeably as rows build. If it's short, unravel and add more chains now rather than after four rows of double crochet.
- Losing track of the Rows 2 and 3 repeat and accidentally stacking two identical rows.
The waffle grid only forms when the two rows alternate. Clip a stitch marker into the front of your work on Row 2 and move it up each time you start a new Row 2, so a glance tells you where you are. If you spot a doubled row, frog back to it right away rather than hoping it blends in.
- Working the turning chain inconsistently, giving the panel wavy, uneven side edges.
Pick one method and repeat it identically on every single row across both panels. Whether you count the turning chain as a stitch or not matters less than doing it the same way every time. Consistent edges make the single crochet edging and the three-sided join lie flat instead of rippling.
- Making the two panels different sizes because the second one was worked at a different tension.
Count your Rows 2-3 repeats on the first panel and write the number down, then work the second panel to the same count instead of just eyeballing the measurement. Lay the finished panels flat on top of each other before joining and check that all four corners line up.
- Skipping the single crochet edging and jumping straight to joining the panels.
The edging is what squares up the panel and gives you an even row of stitches to seam into. Without it you'll be guessing where to insert your hook along the sides, and the seam will pucker. Work the edging on both panels before you attach anything.
- Closing the fourth side before the pillow form is fully seated in the corners.
Push the insert firmly into all four corners and smooth it flat, then start your single crochet closure. If the corners look empty, add a small amount of fiberfill into each one before sealing, or the finished pillow will look soft and collapsed at the edges.
Variations
- The two-yarn setup in the original is your first invitation to play. The pattern already uses both Caron One Pound and Caron Jumbo Ombre, so try making the front panel in a solid and the back panel in the ombre, giving you a reversible pillow with two moods. Or work the front panel in stripes: change color every time you finish a Row 3 repeat, so each color break lands cleanly on a waffle band. Deep terracotta with cream, sage with oatmeal, and charcoal with mustard all look gorgeous in this stitch because the raised grid catches shadow and reads as tonal even in a single color. For sizing, the beauty of this pattern is that the chain sets the width and the Rows 2-3 repeat sets the height. Want a 12x12-inch lumbar-friendly square? Shorten the starting chain proportionally and stop repeating sooner. Want an oversized 18x18-inch floor cushion? Lengthen the chain and keep repeating until you hit 18 inches, then match the second panel exactly. Just measure both panels against each other before joining, since two panels that differ by half an inch will pull the seam crooked. Yarn substitutions open up the feel entirely. Any medium weight size 4 works with the 5mm hook, so try a cotton like Lily Sugar'n Cream for a crisp, structured, summer-porch pillow, or a chenille-style yarn for a velvety texture that softens the waffle grid into something plush. Blanket yarn with a larger hook gives you a chunky statement version. You can also skip the pillow form entirely, stuff the cover with fiberfill, and use it as a floor pouf-style cushion for a kids' reading corner.
- I have a soft spot for projects where the texture does all the heavy lifting, and this pillow is exactly that. Once you get past Row 1's plain double crochet, you fall into the Rows 2 and 3 repeat and your hands basically take over. There's something so satisfying about watching those little raised squares stack up into a grid, especially around row eight when the waffle finally looks like a waffle and not a suspicious pile of stitches. I also love that the pattern is honest about sizing: you just keep repeating until your panel measures roughly 15 inches, which means no panicked recounting if your tension runs tight or loose. The single crochet edging is my favorite part of the finishing, because it takes a slightly wobbly panel and makes it look deliberate and store-bought. And joining three sides with single crochet before stuffing feels like the moment the whole thing becomes real. Hiding the loose ends with a yarn needle at the end is genuinely pleasant, not the usual chore. It's a low-stress, high-reward make, and I've never regretted having one on the couch.
Frequently Asked Questions
Is the waffle stitch really beginner friendly?
Yes, as long as you're comfortable with a chain and a double crochet, which are the only stitches you need to build the texture. The waffle look comes from where you place those stitches, not from any new or difficult technique. Most beginners find the rhythm clicks by the third or fourth repeat.
How much yarn do I need for a 15x15-inch pillow cover?
The tutorial uses Caron One Pound in a 16 oz skein and Caron Jumbo Ombre in a 12 oz skein, which is plenty for both panels with yarn to spare. Waffle stitch is denser than plain double crochet, so budget generously if you're substituting a smaller skein. One large skein of any medium weight size 4 will comfortably cover a single-color version.
How do I know when to stop repeating Rows 2 and 3?
Keep repeating until the panel measures roughly 15 inches to match the pillow, laying it flat to measure rather than stretching it. Write down how many repeats you worked so the second panel matches exactly. The pattern is designed to be measured rather than counted to a fixed number, so it adapts to your tension.
Can I make this in one piece instead of two panels?
You could work one long panel and fold it in half, which eliminates one seam entirely. You'd chain the same width but keep repeating Rows 2 and 3 until the panel measures about 30 inches, then fold and join the two remaining sides. The waffle texture looks the same on the fold, so nobody will notice the difference.
Do I need a pillow form, or can I use stuffing?
Either works. A pillow form gives crisp corners and a tidy, professional shape, while polyester fiberfill lets you control the firmness and is handy if you've made a non-standard size. If you use fiberfill, add it in small handfuls and push it firmly into the corners first so the finished pillow doesn't look flat at the edges.
Original pattern: https://redagapeblog.com/crochet-a-waffle-stitch-pillow-cover/
About the Author

Marisol QuinteroWho runs Crochet Obsessed, why a stitch count sits at the end of every round, how a pattern gets written here, and the things this site will never do.
More Patterns
- IntermediateNo. 01

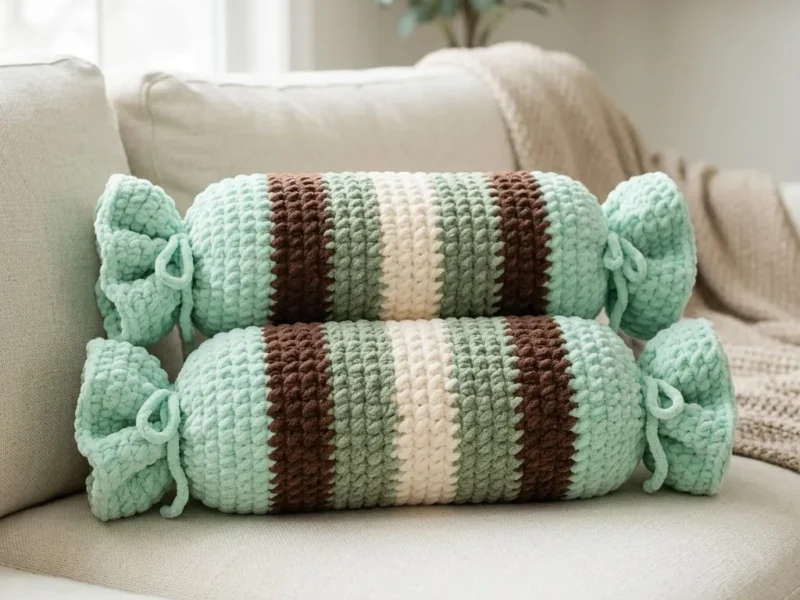
Mint chocolate candy wrapper bolster pillow pattern
Mint chocolate candy bolster pillow crochet pattern: a chenille bolster with twisted wrapper ends for a soft, playful…
- BeginnerNo. 02
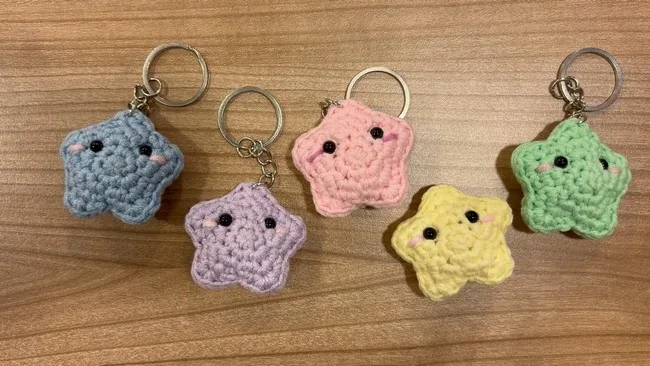
A five-pointed amigurumi star keychain for beginners
Amigurumi star keychain pattern using magic circle rounds, simple single crochet increases, and a quick beginner-friendly finish for…
- BeginnerNo. 03
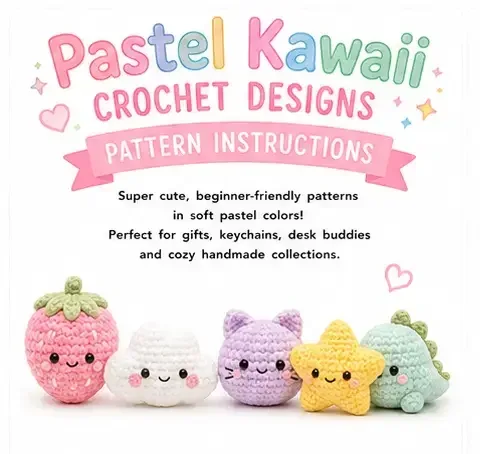
Kawaii pastel amigurumi crochet pattern
Kawaii pastel amigurumi crochet pattern using sport weight yarn, finished with safety eyes and embroidered details, for keychains…