- LevelIntermediate
- Time4-6 hours
- Hook3.5 mm
- YarnWorsted
About This Pattern
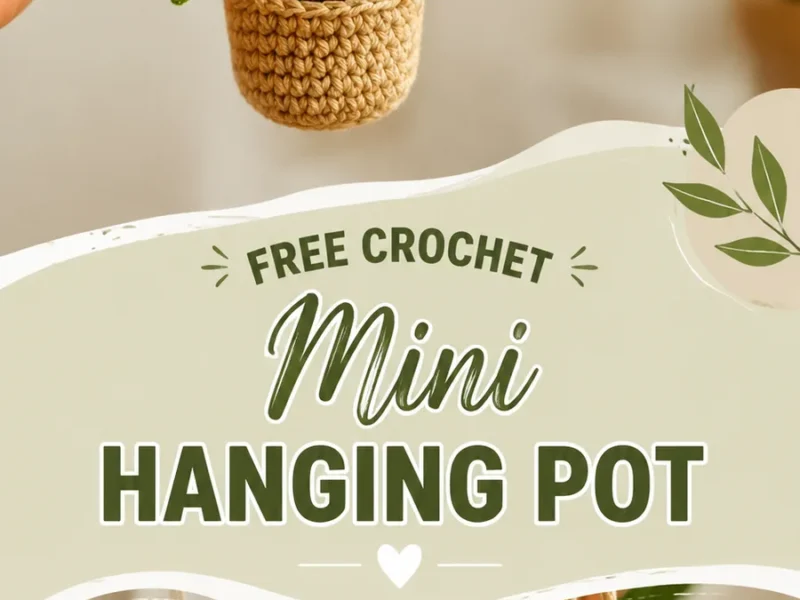
This one feels like a quiet Sunday project, the kind where you put on a podcast and let the hook do the talking. The beige basket and green leaves give it that natural, almost botanical calm. Nothing flashy here, just a small, grounded thing taking shape in your lap.
Your hands will spend most of their time in tight single crochet, round after round, building a base that actually holds its shape. Then there's a shift into braiding cord for the hanging straps, which is a nice change of rhythm. The leaf points ask for a little precision, since four stitch heights land in one spot.
Once it's finished, this pot wants a sunny windowsill, a shelf corner, or a spot by a reading chair where it can just hang and be looked at. It's small enough not to compete with anything else in the room. Pair it with other textured, neutral decor and let the green leaves be the only pop of color.
- Start with a magic ring and build the base through a few rounds of steady increases.
- Keep stitches tight and consistent through the remaining rounds so the pot holds its shape on its own.
- Set the basket aside and chain a short foundation in green for each leaf.
- Work the leaf point stitch combination into the chain space to shape each pointed leaf.
- Cut and fold yarn strands, then attach them evenly around the rim for the hanging cords.
- Braid or twist the strand pairs together and tie the top ends to form the two hanging supports.
- Attach the leaves to the center of the basket and weave in all loose ends.
On the desk
- Worsted weight cotton yarn in beige or natural color for the pot
- Small amount of green cotton yarn for leaves
- Crochet hook size 3.5 mm (US E-4)
- Yarn needle
- Scissors
- Stitch marker
- Small amount of fiberfill or scrap fabric for shaping
Stitch shorthand
- ch — chain
- sl st — slip stitch
- sc — single crochet
- hdc — half double crochet
- dc — double crochet
- inc — increase, 2 stitches in the same stitch
- st — stitch
- rep — repeat
Mini hanging crochet plant pot with leaf accents
Main Pattern
The basket container is a rounded shape worked from the base upward in joined rounds, creating a stable base and slightly curved sides. The basket is worked from the bottom upward in joined rounds; the hanging cords are added after the basket is completed, and the leaves are made separately and attached afterward to create the plant effect. The basket uses increases at regular intervals to create a flat circular base before building the sides, using single crochet stitches for structure.
- Round 1
Make a magic ring. Work 8 sc into the ring. Join with a sl st to the first sc. (8 sts)
- Round 2
Ch 1. Work 2 sc in each stitch around. Join. (16 sts)
- Round 3
Ch 1. *Sc in next stitch, 2 sc in next stitch.* Repeat around. Join. (24 sts)
- Round 4
Ch 1. *Sc in next 2 stitches, 2 sc in next stitch.* Repeat around. Join. (32 sts)
- Round 5
Ch 1. Work sc in each stitch around. Join. (32 sts)
- Rounds 6–10
Ch 1. Work sc in each stitch around. Join after each round. (32 sts)Half double crochet stitches create a slightly softer transition around the upper section of the basket, which is why round 11 switches from single crochet to hdc before the top edge is finished with reverse single crochet.
- Round 11
Ch 1. Work hdc in each stitch around. Join. (32 sts)
- Round 12
Ch 1. Work reverse single crochet around the top edge for a neat finish. Join and fasten off.
Project Name
Mini Hanging Garden Crochet Pot
This original crochet pattern creates a small hanging basket with decorative crochet leaves. It is designed as a home decor item and is not intended to hold heavy objects.
Skill Level Easy to Intermediate Beginner Finished Size Approx. 3.5 inches wide x 3 inches tall (9 cm x 8 cm), excluding hanging cords
Yarn Suggested worsted weight cotton yarn, approximately 80 yards (73 meters) total Hook Recommended 3.5 mm (US E-4) crochet hook
Gauge Approx. 18 single crochet stitches x 20 rounds = 4 inches (10 cm)
Terminology US crochet terms
Important The photographed project does not reveal exact yarn specifications or original construction details. This original pattern creates a similar style using recommended materials, measurements, and crochet techniques.
Special Stitch
Leaf Point: Work 1 sc, 1 hdc, 2 dc, 1 hdc, 1 sc into the same chain space to create a pointed leaf shape.
Where it goes
- A tiny succulent or faux plant display hanging near a sunny window, paired with other woven or macrame accents.
- A catchall for small desk items like paper clips or hair ties, hung within easy reach of a workspace.
- A decorative accent on a plant shelf or ladder, mixed in with ceramic pots for texture contrast.
- A handmade gift for someone who collects small plants, paired with a mini terracotta liner inside.
Color ideas
- Natural & Green Beige or natural cotton for all 8 rounds of the basket, green cotton reserved only for the leaves.
- Tonal Neutral A slightly darker neutral for the base rounds and a lighter neutral from round 5 upward, with green leaves unchanged at the center.
Care
Hand wash the finished piece gently in cool water, since cotton holds its shape best without aggressive agitation.
Reshape the basket while damp and let it air dry flat or upright in its intended form.
Store away from heavy moisture and dust it lightly with a soft brush to keep the stitches crisp.
Assembly
- Hanging Cords Cut two yarn strands approximately 24 inches (61 cm) long. Fold the strands in half and attach them evenly around the basket rim. Braid or twist the strands together to create two hanging supports. Tie the top ends together securely and weave in loose ends.
- Leaf Pattern With green yarn, ch 8. Starting in the second chain from hook, work 1 sc, 1 hdc, 2 dc, 1 hdc, 1 sc. Turn slightly and work along the opposite side of the chain with the same sequence. Join with a sl st at the base. Fasten off, leaving a long tail for attaching. Make 6 to 10 leaves depending on how full you want the plant appearance to be.
- Assemble Arrange the leaves in a fan shape above the basket opening. Attach the leaf bases together using the yarn tails. Place a small amount of fiberfill inside the basket if desired. Sew the leaf cluster securely to the center of the basket opening. Check that the hanging cords are balanced before displaying.
- Finishing Weave in all yarn ends with a yarn needle. Lightly shape the basket by hand and gently steam block if needed. Avoid excessive heat, especially with cotton blends.
Easy to get wrong
Losing stitch count during increases
Use a stitch marker at the start of each round and count after every increase round, since rounds 2 through 4 each add a predictable number of stitches.
Leaf points looking flat instead of curved
Make sure the hdc, dc, dc, hdc sequence all lands in the same chain space rather than spreading across several stitches, so the leaf curls properly.
Hanging cords pulling unevenly
Space the folded strand pairs evenly around the rim before braiding or twisting, so the finished pot hangs level.
Basket looking too soft
If the basket looks too soft, use a smaller hook size or choose a firmer cotton yarn. Tight and even stitches help create a stronger structure.
Listener questions
Do I need to stuff the pot to keep its shape?
The tight single crochet rounds already give the basket a fair amount of structure on their own. A small amount of fiberfill or scrap fabric is only needed if you want the leaves to stand upright inside.
How long should the hanging cords be before braiding?
Cut two strands about 24 inches long per cord, then fold them in half before attaching to the rim. That length leaves enough to braid or twist and still tie securely at the top.
What if my leaf points come out uneven?
Uneven points usually come from the hdc, dc, dc, hdc group drifting across more than one chain space. Keep every stitch of that sequence anchored in the same space and the point will sit symmetrically.
Is this a good project if I've only made amigurumi before?
Yes, the joined rounds and increase pattern will feel familiar from amigurumi work. The new skills here are the leaf point stitch combination and braiding the hanging cords, both manageable with a little patience.
Original pattern: https://duniarecipe.com/diy-mini-hanging-plant-pot-crochet-home-decor-project-ideas/
About the Author

Marisol QuinteroWho runs Crochet Obsessed, why a stitch count sits at the end of every round, how a pattern gets written here, and the things this site will never do.
More Patterns
- IntermediateNo. 01

Rose Granny Square Tote Crochet Pattern
Rose granny square tote crochet pattern made from 18 dimensional rose squares for a sturdy, romantic everyday bag.
- IntermediateNo. 02
Tropical octopus baby blanket crochet pattern with appliqués
Tropical octopus baby blanket crochet pattern: a cream filet base with coral and turquoise octopus appliqués, leaves, and…
- IntermediateNo. 03
Sunny lemon couple amigurumi crochet pattern
Sunny lemon couple amigurumi crochet pattern with embroidered slices and safety eyes for a cheerful handmade shelf pair.


