- LevelIntermediate
- Time4-6 hours
- Hook4.0 mm
- YarnWorsted
About This Pattern
This one has a quiet, pocket-sized cheerfulness to it, the kind of make you start just to see something small take shape fast. There's no drama in a turtle, just a round head, four stumpy legs, and a shell that sits on top like a little hat. It feels like a doodle you can hold.
Finished, it's the size of a cookie and just as inviting to pick up. Clip it to a backpack zipper, sit it on a windowsill next to a plant, or let it hold down a stack of receipts on a desk. It doesn't need a shelf of its own — it just needs a spot within reach.
Gauge is not critical for this project — focus instead on working tightly enough that stuffing doesn't peek through your stitches.
- Start with the Head, working it in a continuous spiral and increasing steadily until it reaches its widest point.
- Repeat the same turning-row method for the Back Legs, using their own shorter chain and row count.
- Work the Body, or belly, in the main color as another continuous spiral piece.
- Crochet the Shell separately in the contrast color, keeping the working yarn attached when you finish.
- Hold Shell and Body wrong sides together and single crochet them into one seam, working through both loops of the Shell and the front loop only of the Body.
- Stuff the turtle in small amounts as you close the seam so the fiberfill settles evenly all the way around.
- Sew on the Head and all four Legs, and set the safety eyes before you finish.
On the desk
Yarn
- Worsted weight plush/velvet yarn, approximately 25g total (one main color for the head/legs/belly, one contrast color for the shell)
Hook
- US size 4.0 mm crochet hook (size G-6), or the size recommended for your plush yarn
Safety eyes
- 8mm, 1 pair
Stuffing
- Polyester fiberfill, approximately 10g
- Stitch marker
- Yarn needle (tapestry needle) for sewing pieces together
- Scissors
Stitch shorthand
- BLO — Back Loop Only
- ch — Chain
- dec — Decrease
- FLO — Front Loop Only
- inc — Increase
- MR — Magic Ring
- Rnd — Round
- sc — Single Crochet
- sc2tog — Single Crochet Two Together (used here to join legs into the body)
- sl st — Slip Stitch
- st(s) — Stitch(es)
Little crochet turtle keychain to make in an evening
Head
The Head is worked in a continuous spiral — do not join or chain between rounds. Place a stitch marker in the first stitch of each round to keep track of where you are. Safety eyes are inserted between Rounds 3 and 4, before stuffing.
- Round 1
5 sc in MR. (5)
- Round 2
Inc in each st around. (10)
- Round 3
1 sc, inc repeat around. (15)
- Round 4
Inc, 2 sc repeat around. (20)
- Round 5
Sc in each st around. (20)
- Round 6
2 sc, dec repeat around. (15)
- Round 7
Dec around. (4 decreases) Insert the safety eyes between Rounds 3 and 4 before continuing. Stuff the piece firmly, then work 3 more decreases evenly spaced around the remaining stitches to close the opening. Sl st to join, fasten off leaving a 6-inch (15cm) yarn tail for sewing.
Front Leg (make 2)
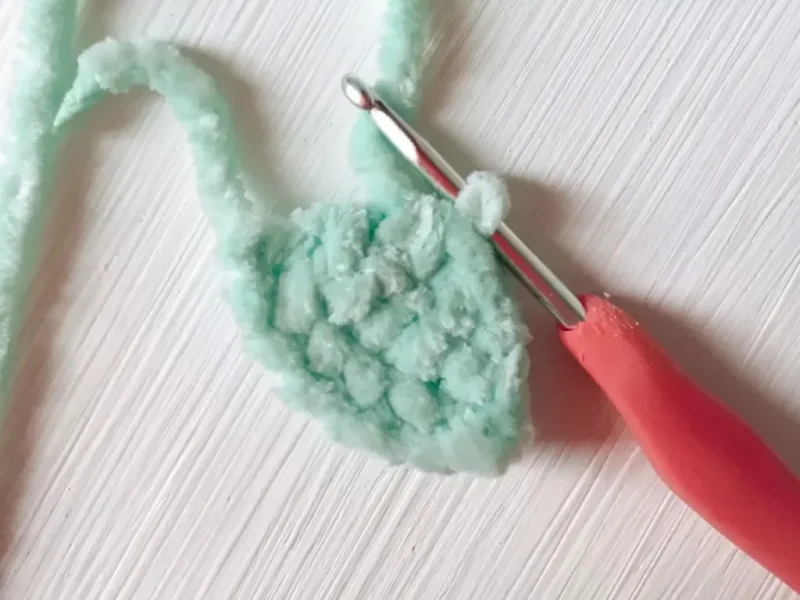
Worked in turning rows, no turning chain, standard decreases.
- Round 1
Ch 7, starting in 2nd ch from hook, sc 6. (6)
- Round 2
Dec, 2 sc, dec. (4)
- Round 3
Dec, dec. (2)Work 3 sc evenly along the side edge of the leg, working back down toward the starting point of the foundation chain.
Back Leg (make 2)
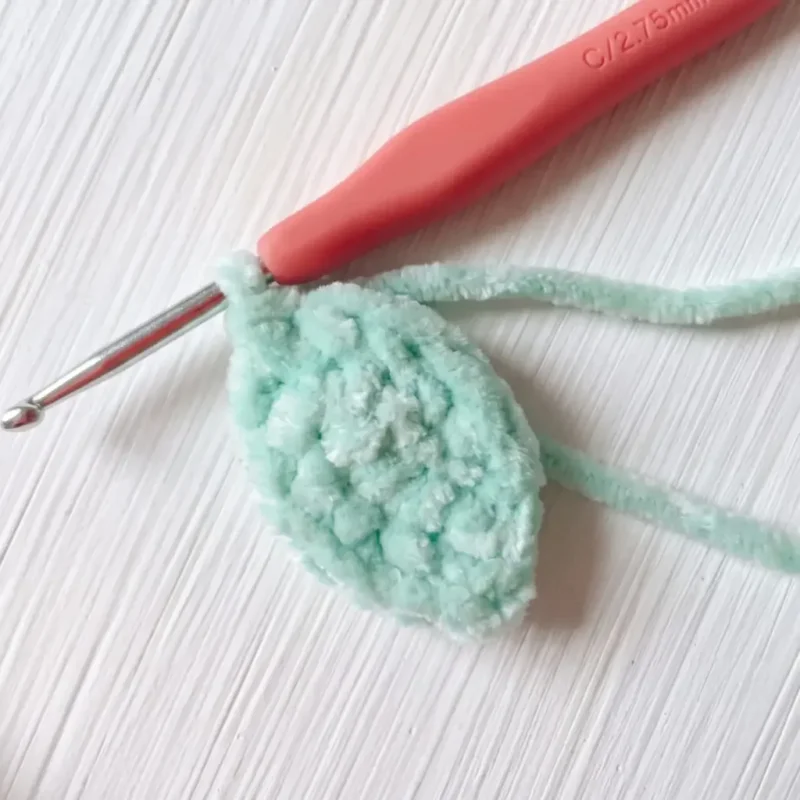
Worked in turning rows, no turning chain, standard decreases.
- Round 1
Ch 6, starting in 2nd ch from hook, sc 5. (5)
- Round 2
Dec, 1 sc, dec. (3)
- Round 3
Dec, 1 sc. (2)Work 2 sc evenly along the side edge of the leg, working back down toward the starting point of the foundation chain.
Body (Belly)
The Head, Body, and Shell are worked in continuous spirals — do not join or chain between rounds. Place a stitch marker in the first stitch of each round to keep track of where you are.
- Round 1
6 sc in MR. (6)
- Round 2
Inc in each st around. (12)
- Round 3
1 sc, inc repeat around. (18)
- Round 4
Inc, 2 sc repeat around. (24)
- Round 5
3 sc, inc repeat around. (30)
- Round 6
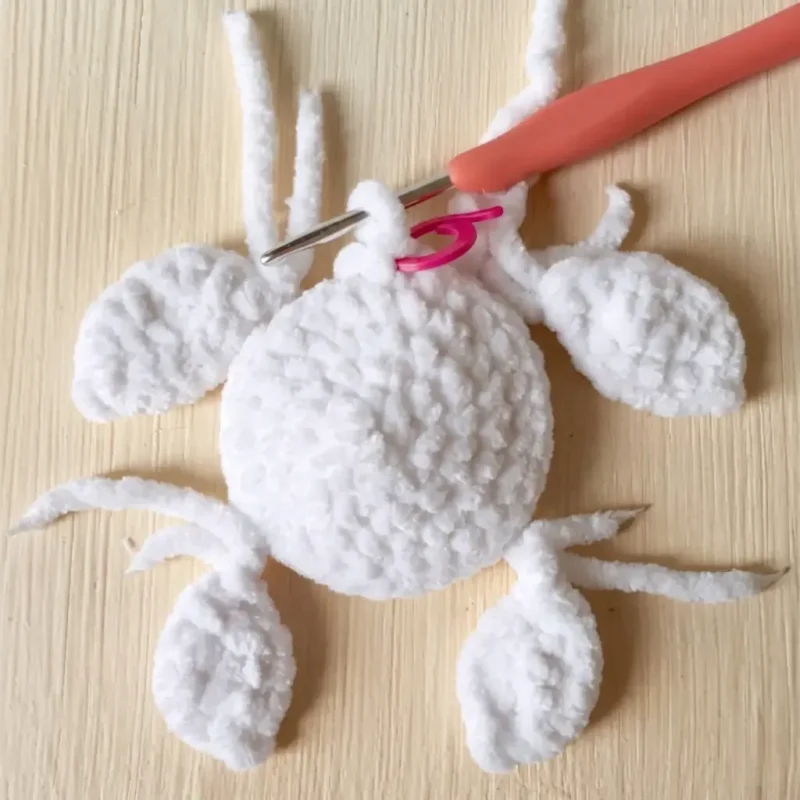
Attach the legs in this round as follows: 3 sc, sc2tog joining a Front Leg into the next stitch, 6 sc, sc2tog joining a Back Leg, 4 sc, sc2tog joining the second Back Leg, 6 sc, sc2tog joining the second Front Leg, 3 sc, sl st to join. (30, with 4 legs attached)Pay close attention to leg placement — the leg tails should face toward the inside of the body. Fasten off and weave in the end.
Shell
The Head, Body, and Shell are worked in continuous spirals — do not join or chain between rounds. Place a stitch marker in the first stitch of each round to keep track of where you are.
- Round 1
6 sc in MR. (6)
- Round 2
Inc in each st around. (12)
- Round 3
1 sc, inc repeat around. (18)
- Round 4
Inc, 2 sc repeat around. (24)
- Round 5
3 sc, inc repeat around. (30)
- Rounds 6–7
Sc in each st around. (30)For a taller, more domed shell, work one additional plain round of 30 sc here. Do not fasten off. You'll use this working yarn to join the Shell directly to the Body in the next step.
More shots
Where it goes
- Clip it to a backpack or diaper bag zipper as a small, sturdy charm that survives daily bumping around.
- Sit it on a desk next to a pen cup, where its plush texture stands out against plastic and metal.
- Give it as a stocking-stuffer-sized handmade gift for a kid who likes turtles or slow, funny animals.
- Loop it onto a set of house keys or a lanyard so it's easy to spot in a bag.
Color ideas
- Classic pond turtle Soft green for the Head, Front Legs, Back Legs, and Body, with a deeper olive or moss for the Shell.
- Sandy beach turtle Warm sand or tan for the Head, Legs, and Body, with a rust or terracotta contrast for the Shell.
Care
Hand wash the finished turtle in cool water if it needs freshening up, since plush or velvet worsted yarn can flatten under hot water and heavy agitation.
Lay it flat to air dry away from direct heat, reshaping the shell and legs gently with your fingers while it's still damp.
Store it away from direct sunlight in a drawer or basket rather than a sealed bag, so the plush fiber keeps its texture and doesn't get crushed.
Assembly
- Step 1 With the Shell’s working yarn still attached, hold the Shell and Body (Belly) together, wrong sides facing each other, lining up the open edges.
- Step 2 Join the two pieces by working sc around, inserting your hook through both loops of the Shell stitch and through the Front Loop Only (FLO) of the corresponding Body stitch. Work this combined seam for all 30 stitches around.
- Step 3 Stuff the turtle firmly as you work around the seam — add fiberfill in small amounts so it distributes evenly between the Shell and Body before you close the gap completely.
- Step 4 Once the seam is fully joined and the turtle is stuffed to your liking, fasten off and weave in the end.
- Step 5 Position the Head against the front of the Body/Shell assembly. Use straight pins or stitch holders to hold it in place while you check the placement from multiple angles.
- Step 6 Sew the Head securely to the Body using the yarn tail left from the Head, working a whipstitch around the entire base of the Head to attach it firmly.
- Step 7 Weave in all remaining yarn ends, including the tail at the base of the Head and any tails left from attaching the legs.
Easy to get wrong
Losing your place in the spiral
Keep the stitch marker in the first stitch of every round on the Head and Body, moving it up as you go so you never have to guess where a round starts.
Forgetting there's no turning chain on the legs
Start each new row of the Front and Back Legs directly in the first stitch instead of chaining up, since the pattern specifically works these flat pieces without a turning chain.
Rushing the Shell-to-Body seam
Slow down on the combined stitch that goes through both loops of the Shell and the front loop only of the Body, and add fiberfill in small pinches as you work rather than all at once at the end.
Between the songs
- The satisfaction here is in the contrast of techniques packed into something this small. You work the Head and Body in continuous spirals with a stitch marker keeping you honest, then flip to turning rows with standard decreases for the Front and Back Legs, which is a nice change of rhythm if you're used to amigurumi that's all spiral, all the time. Joining the Shell to the Body through the front loop only, while stuffing as you go, is the kind of seam that teaches you something about tension and gives a genuinely tidy edge. It's a short project with enough variety that you finish it feeling like you practiced, not just repeated.
Listener questions
Can I use a different yarn instead of plush or velvet worsted weight?
You can, though the plush texture is part of what makes this turtle feel special to hold. A standard worsted weight acrylic will still work fine with the same 4.0 mm hook, just with a slightly less velvety finish.
Do I need to be experienced with amigurumi to make this?
Some amigurumi experience helps, especially for reading continuous spiral rounds without getting lost. The legs are worked flat with clear row-by-row decreases, which makes them a gentler entry point if the spiral sections feel new.
Why are the eyes optional to place until the end?
Setting the safety eyes after the Head is stuffed and attached makes it much easier to judge spacing and position on the finished shape. Placing them too early, before you can see the whole turtle, often leads to eyes that sit unevenly.
What's the purpose of joining through the front loop only?
Working through the front loop only of the Body while catching both loops of the Shell creates a neat ridge along the seam and helps the two pieces sit together cleanly. It's a small detail, but it's what gives the shell its defined edge where it meets the belly.
Can I skip the keychain and just make it a small stuffed toy?
Absolutely, the pattern is really just a small stuffed turtle with an optional clip added at the end. Leave off any hardware and it works just as well sitting on a shelf.
Original pattern: https://amigurumicorner.com/crochet-turtle-keychain-pattern/
About the Author

Marisol QuinteroWho runs Crochet Obsessed, why a stitch count sits at the end of every round, how a pattern gets written here, and the things this site will never do.
More Patterns
- IntermediateNo. 01

Slouchy everyday beanie worked flat in half double crochet
Crochet beanie pattern for a slouchy everyday look worked flat with hdc rows, then seamed into a soft,…
- IntermediateNo. 02
Crochet amigurumi doll with dress, shoes, and hat
Crochet amigurumi doll pattern with dress, shoes, and hat details for a soft, huggable keepsake you build one…
- IntermediateNo. 03
Chunky moss stitch crochet sweater with raglan-free shoulders
Chunky crochet sweater pattern using moss stitch, worked flat with a 10mm hook for a soft, fast, cool-weather…


