- LevelIntermediate
- Time4-6 Hours
- Hook4 mm
- YarnBulky
About This Pattern
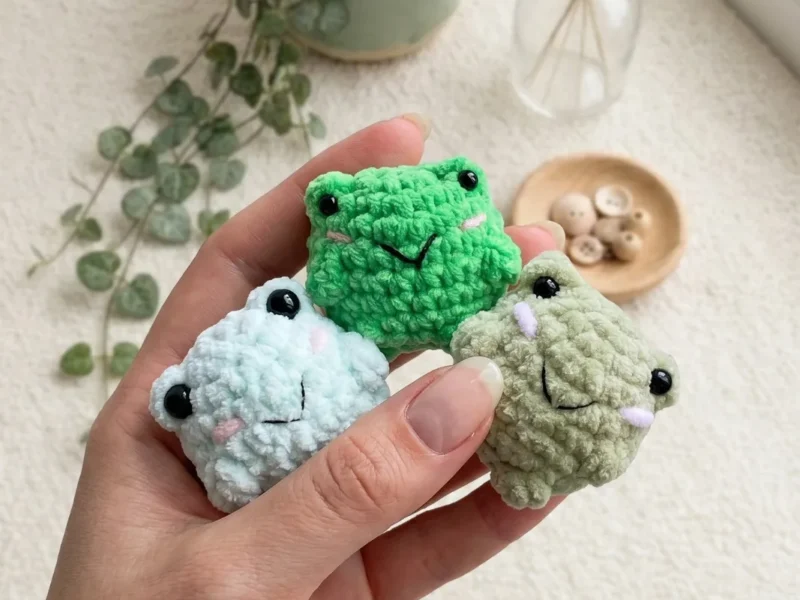
This little crochet toad frog is worked up in soft olive green bulky yarn, giving him a plump, huggable body with a textured, bumpy back that mimics real toad skin. What makes this amigurumi so charming is the bobble stitch detailing scattered across the body, adding dimension without adding complicated shaping. He's the perfect project for anyone who loves amigurumi with personality — nature lovers, frog enthusiasts, or crocheters looking to gift a quirky handmade friend that stands out from the usual bear or bunny.
You'll be working the entire body as one continuous piece in a spiral, so there's no seaming the body together at the end, which keeps the process satisfying and streamlined. Expect to use magic rings to start, single crochets to build the rounds, and bobble stitches for that signature bumpy texture, plus invisible decreases to shape the head smoothly into the body. With just 12 rounds total plus a simple four-step assembly, this is a project you can realistically finish in one relaxed sitting.
- Start the body with a magic ring and build upward using single crochets, increasing gradually to shape the rounded form.
- Add bobble stitches at set intervals across the rounds to create the bumpy, toad-like texture on the back and sides.
- Continue working every round in a continuous spiral without joining, tracking your progress with a stitch marker.
- Begin decreasing using invisible decreases to taper the shape and close in the top of the body.
- Stuff the body firmly with polyfill as you work the final rounds so the shape stays smooth and dense.
- Close the last round and weave in the working yarn tail securely with a tapestry needle.
- Attach the safety eyes and stitch the pink cheeks and black thread smile onto the face for expression.
- Finish with the remaining assembly steps to secure any final details and give your toad his finished look.
Materials
Yarn
- Approximately 10 g of bulky-weight yarn (CYCA 6) in olive green — a soft, chunky yarn works beautifully here
Accent yarn
- Small amount of pink yarn for the cheeks
Embroidery thread
- Black cotton thread (fine/thin) for the smile
Hook
- US G-6 / 4 mm
Safety eyes
- 7 mm, 1 pair
Stuffing
- Polyfill / fiberfill
- Stitch marker
- Tapestry needle / plastic yarn needle
- Scissors
- Craft glue (for securing safety eyes if needed)
Crochet Abbreviations
- ch
- Chain
- dec
- Decrease (invisible decrease recommended)
- dc
- Double Crochet
- inc
- Increase (2 sc in same stitch)
- MR
- Magic Ring
- sc
- Single Crochet
- sl st
- Slip Stitch
- st / sts
- Stitch / Stitches
- bobble
- Bobble Stitch: 3 or 4 dc worked into the same stitch, joined at the top with a single peak
Crochet Toad Frog Bobble Amigurumi Free Pattern
Frog Body (worked as one continuous piece)
- Round 1
6 sc in MR. (6)
- Round 2
inc in each st around. (12)
- Round 3
sc in next st, inc, bobble (4 dc in same st, joined at top), inc, sc in next st, inc, sc in next st, inc, bobble (4 dc in same st, joined at top), inc, sc in next st, inc. (18) These two bobbles form the front legs — they should sit symmetrically at the lower front of the body.
- Round 4
2 sc, inc repeat 6 times. (24)
- Round 5
sc in each st around. (24)
Before working Rnd 6, check the position of your stitch marker so the arm bobbles will land on the sides of the body. Shift 1–2 stitches if needed.
- Round 6
7 sc, bobble (3 dc in same st, joined at top), 6 sc, bobble (3 dc in same st, joined at top), 9 sc. (24) These two bobbles are the upper arms.
- Round 7
sc in each st around. (24)
- Round 8
sc in each st around. (24)
Before working Rnd 9, check symmetry of the arm position again and shift if needed.
- Round 9
9 sc, bobble (3 dc in same st, joined at top), 3 sc, bobble (3 dc in same st, joined at top), 10 sc. (24)
- Round 10
2 sc, dec repeat 6 times. (18)
- Round 11
1 sc, dec repeat 6 times. (12)Stuff the body firmly now, before the opening becomes too small to work with.
- Round 12
dec 6 times. (6)Sl st to close, then close the opening by threading the yarn tail through the remaining 6 stitches and pulling tight. Weave in all ends.
Step by step: After Rnd 12 brings you to 6 stitches, cut your yarn with a 6-inch tail, thread it onto your tapestry needle, and pass the needle through the front loop of each remaining stitch. Pull tight to cinch the opening closed — this gives a much neater finish than a slip stitch alone.
More photos
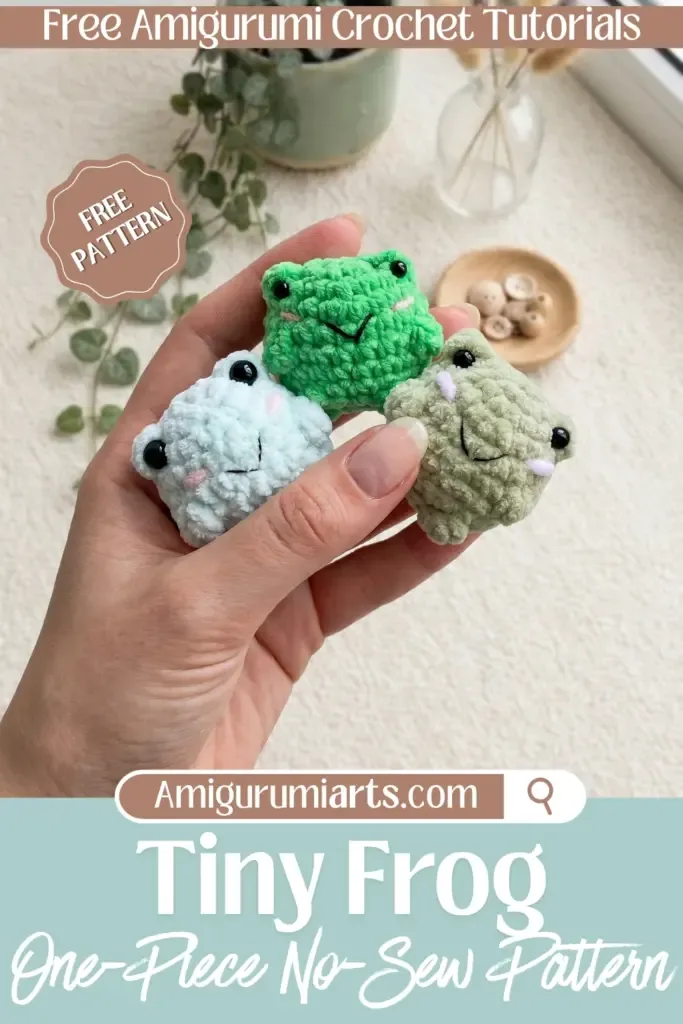
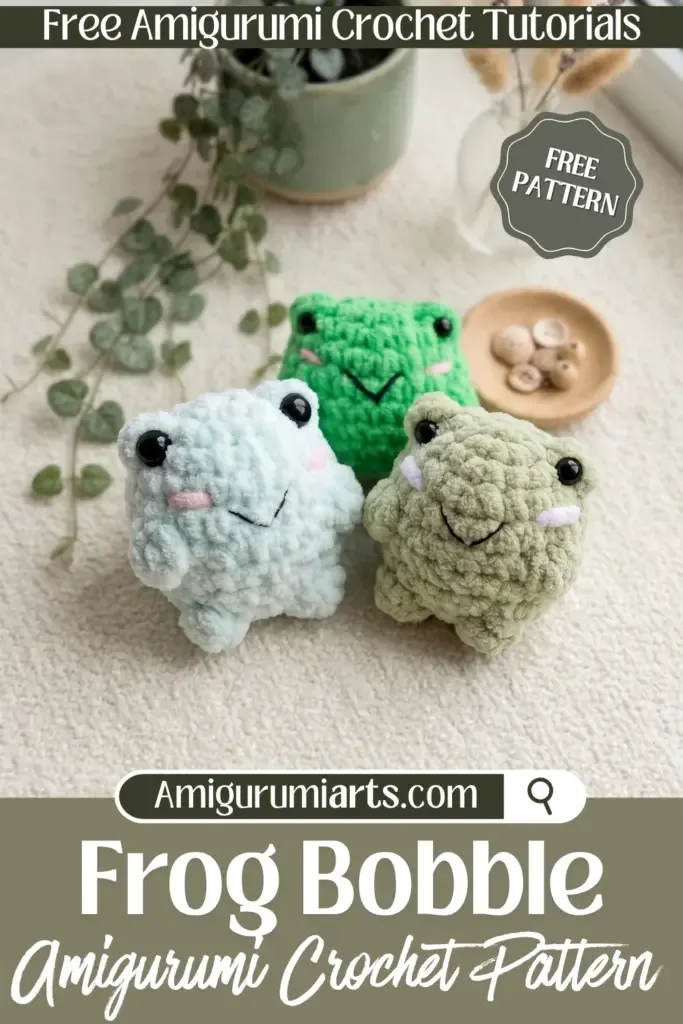
Assembly Instructions
- Step 1 Safety eyes: Before fully closing the body in Rnd 12, position the 7 mm safety eyes on the front of the head, placing them just below the two bobbles from Rnd 3. Space them evenly across the center of the face. Secure the backs firmly. Apply a small dot of craft glue to each backing washer if you want extra hold.
- Step 2 Smile: Using black cotton embroidery thread and a tapestry needle, embroider a small curved smile below the eyes. A simple satin stitch or stem stitch curve works well here — keep it small and centered.
- Step 3 Cheeks: Using the pink yarn, embroider two small circular patches or work a few satin stitches on either side of the smile. Alternatively, cut two small circles from pink felt and glue them in place.
- Step 4 Weave in ends: Weave in all remaining yarn tails securely through the body fabric to hide them completely.
Important Notes
- 💡 Use a 4mm hook with your bulky-weight yarn to keep stitches tight enough that the polyfill stuffing won't peek through the finished fabric.
- 💡 Keep a stitch marker in the first stitch of every single round since this entire body is worked in a continuous spiral with no joining or turning chains.
- 💡 Work your bobble stitches with consistent tension throughout so they all stand up evenly across the body for that classic toad-skin texture.
- 💡 If using safety eyes, insert and secure them with a small dab of craft glue before continuing to crochet around them so they don't shift during stuffing.
- 💡 Since this pattern only calls for a small amount of pink yarn, any leftover worsted or bulky-weight scrap in a pink shade works perfectly for the cheeks.
- 💡 Stuff the body gradually as you work the final rounds rather than waiting until the very end, since it's much easier to distribute the fiberfill evenly into a smaller opening.
- 💡 To work each bobble: insert your hook and pull up a loop 3 or 4 times into the same stitch without finishing each dc, then yarn over and pull through all loops on the hook at once — do not chain after the bobble, simply continue into the next stitch. The bobble should pop outward on the right side of the work; if it pops inward, flip the piece and push it out with your finger.
Common Mistakes and Fixes
- Losing track of the round start in the continuous spiral.
Place your stitch marker in the very first stitch of each round and move it up every time you complete a round — without it, it's easy to drift and lose your stitch count entirely.
- Bobble stitches pulling the fabric
Keep your tension even as you complete each loop of the bobble and give the final yarn-over a slightly looser pull so the stitch sits proudly on the surface without puckering the surrounding single crochets.
- Stuffing showing through the fabric.
Since gauge isn't critical here, if your stitches look loose or gappy, drop down to a smaller hook size until the fabric feels dense enough to fully conceal the white polyfill underneath.
- Invisible decreases looking bulky or twisted.
Insert your hook into the front loops only of the next two stitches before pulling through, rather than working through both full stitches, to keep the decrease smooth and nearly invisible in the finished shaping.
- Overstuffing or understuffing the body before closing it up.
Stuff firmly but pause every few rounds near the top to check the shape — you want it firm enough to hold form but not so packed that the bobble texture flattens out.
- Sewing the black thread smile too tightly or unevenly.
Use fine cotton thread and take your time placing small, even stitches, pulling gently rather than tugging so the smile curves naturally without puckering the face fabric.
Variations
- This pattern is so easy to customize once you understand the basic construction. For color, try swapping the olive green for a mossy sage, a bright lime, or even a speckled brown-and-green yarn like Mandala or We Crochet Vintage Speckle for a more realistic toad look — or go wild with a fantasy palette like lavender or coral for a fun, unrealistic frog. If you want a bigger toad, size up to a 5mm hook and use a worsted-weight yarn held double, which will naturally increase your stitch count slightly round to round and give you a plumper, larger finished body, roughly 30-40% bigger than the original. For a mini version, drop down to a 3mm hook with the same bulky yarn for an extra-dense, smaller toad, great for keychains or bag charms once you add a jump ring loop during assembly. Yarn substitutions work well too — Bernat Blanket or Wool-Ease Thick & Quick both give a similarly plush, chunky finish if olive green bulky yarn isn't available locally. For themed variations, try a golden-yellow and brown toad for an autumn harvest feel, a pastel pink toad for a springtime nursery gift, or add tiny crocheted lily pad accents in bright green as a stand to display him on. You could also experiment with the cheek placement — moving them slightly higher or making them larger with a bigger pink circle changes his expression from sleepy to surprised. Finally, consider swapping the safety eyes for embroidered eyes if this toad is intended for a baby or young child, keeping the piece completely choke-hazard free while still preserving his sweet, wide-eyed look.
- I adore this pattern because it takes something as simple as a round amigurumi body and gives it real personality through the bobble stitches — every bump reads as toad skin texture, and it's so satisfying to watch that pattern emerge round by round. Working the whole body in one continuous spiral means no annoying seams to sew closed at the end, just smooth, uninterrupted rounds guided by your stitch marker. I also love how forgiving the yarn choice is here — using a chunky, bulky-weight yarn means this little guy works up fast, and the fabric naturally stays dense enough to hide the stuffing without you stressing over gauge. The finishing details are what really sell it: the tiny pink cheeks and the hand-stitched black thread smile turn a simple stuffed shape into a face full of expression. If you've been wanting to practice bobble stitches and invisible decreases in a low-pressure, quick project, this toad is the perfect classroom — and you'll have an adorable finished friend to show for it.
Frequently Asked Questions
Can I use a different yarn weight for this frog pattern?
Yes, but adjust your hook size accordingly and expect a different finished size. A lighter DK or sport weight yarn with a 2.5–3 mm hook will give you a smaller, more delicate frog. Just make sure your tension stays tight so the stuffing doesn't peek through the fabric.
My bobble limbs are popping to the inside of the piece — how do I fix this?
This is a common issue when working in the round. Simply use your fingertip to push the bobble outward from the wrong side of the fabric immediately after completing it. The bobble will stay in place once the surrounding stitches are worked. If it keeps happening, try working your bobbles slightly more loosely.
When should I attach the safety eyes?
Attach the safety eyes before closing the opening in Rnd 12, while you can still fit your fingers inside the body to secure the backing washers. Position them below the Rnd 3 bobbles and check the spacing from the outside before snapping the backs on — once secured, they cannot be removed without damaging the fabric.
Is this frog safe for young children?
babies and toddlers under three years old, replace the safety eyes with embroidered eyes using black yarn or thread — no plastic parts that could detach. Use non-toxic craft glue if applying felt cheeks, and ensure all yarn ends are woven in thoroughly so nothing can be pulled loose.
Original pattern: https://amigurumiarts.com/crochet-bobble-frog-amigurumi-free-pattern/
About the Author

Marisol QuinteroWho runs Crochet Obsessed, why a stitch count sits at the end of every round, how a pattern gets written here, and the things this site will never do.
More Patterns
- IntermediateNo. 01

Slouchy everyday beanie worked flat in half double crochet
Crochet beanie pattern for a slouchy everyday look worked flat with hdc rows, then seamed into a soft,…
- IntermediateNo. 02
Crochet amigurumi doll with dress, shoes, and hat
Crochet amigurumi doll pattern with dress, shoes, and hat details for a soft, huggable keepsake you build one…
- IntermediateNo. 03
Chunky moss stitch crochet sweater with raglan-free shoulders
Chunky crochet sweater pattern using moss stitch, worked flat with a 10mm hook for a soft, fast, cool-weather…


