- LevelIntermediate
- Time4-6 hours
- Hook5 mm
- YarnWorsted
About This Pattern
There's something unhurried about this little sloth, and I love that the pattern matches the mood. Nothing here rushes you. You build limbs first, set them aside, then bring everything home to the body round by round, the same slow way the real animal moves through its day.
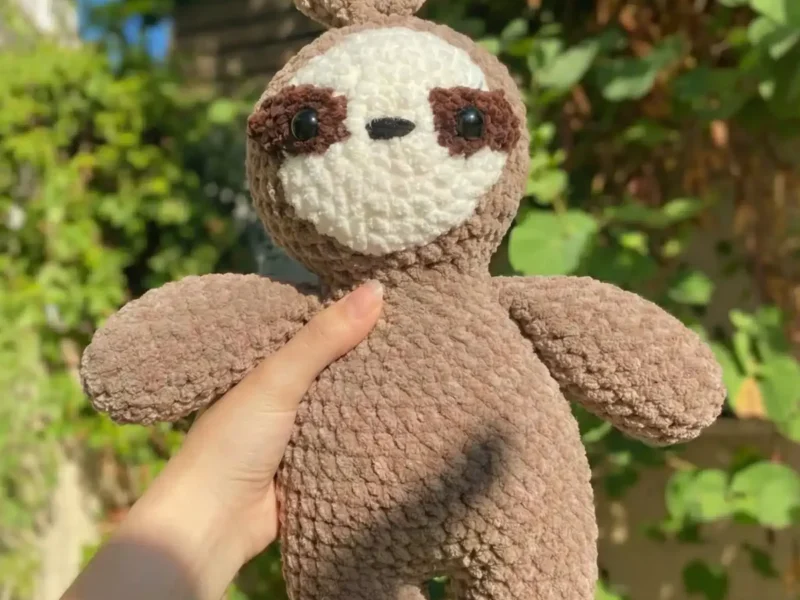
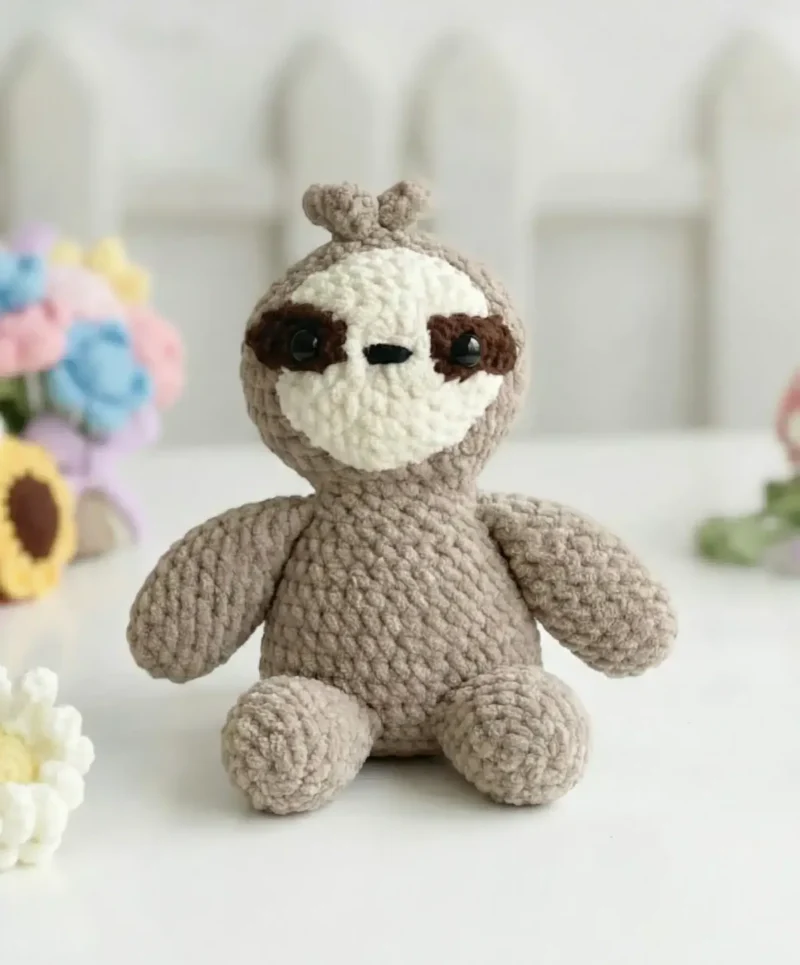
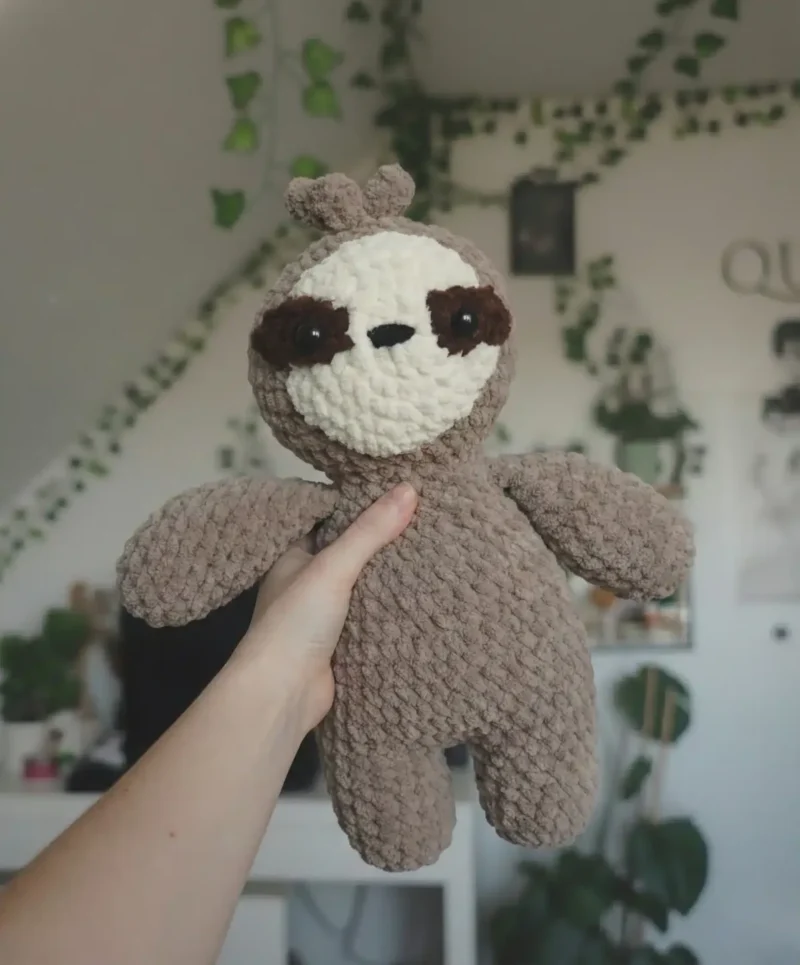
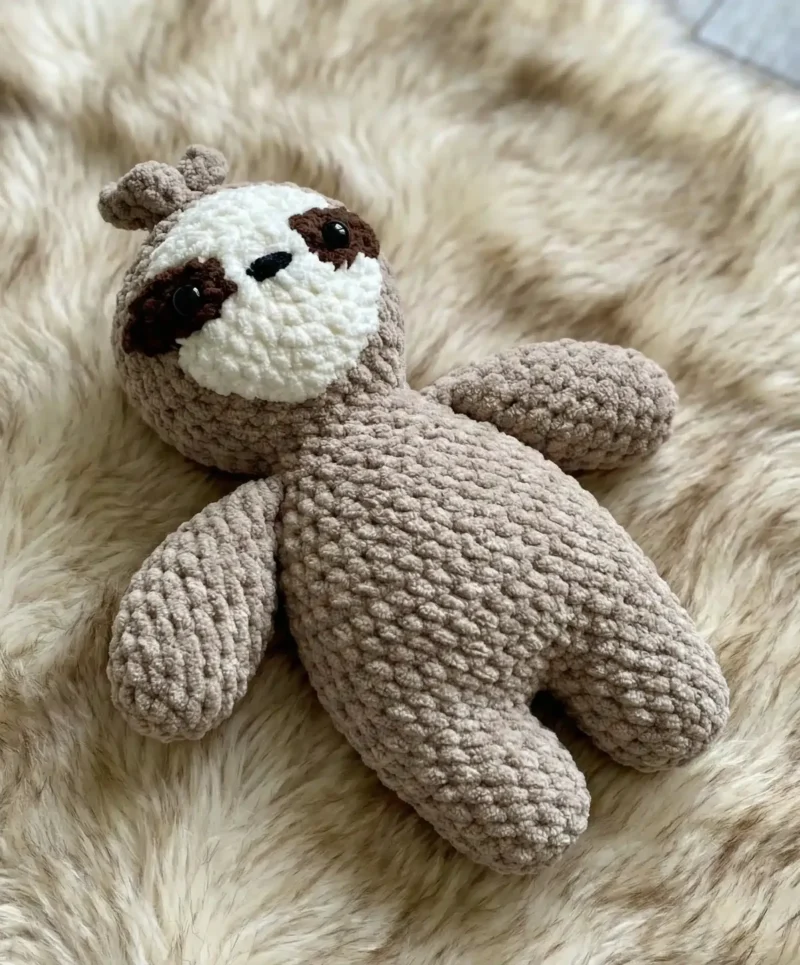
Finished and stuffed, this sloth lands somewhere between a desk companion and a proper shelf animal. At approximately 8 to 10 inches tall (about 20-25cm, depending on yarn weight and tension), it holds its own on a bookshelf or a kid's bed without disappearing into the background. The embroidered face gives it a personality that printed safety-eye sloths often miss.
- Start with the two legs, working them in matching rounds of increases and plain single crochet.
- Leave the second leg unfastened so it flows straight into the body instead of being sewn on later.
- Build the body upward, joining both legs into one wide round before shaping back down toward the neck.
- Shape the head in its own long stretch of rounds, tapering it to match the body's neckline.
- Work both arms separately, shaping a rounded shoulder and tapering each one down to a narrower hand.
- Embroider the cream face piece and stitch the dark brown eye patches, inserting safety eyes through them first.
- Sew the arms beneath the head and attach the finished face and eye patches in their marked positions.
- Add the hair detailing last, once every piece is joined and stuffed.
On the desk
Yarn
- Light brown, dark brown, and cream yarn (the original design uses Dolce by Yarn Art)
Crochet Hook
- 5 mm hook (or size needed to match gauge)
Tapestry Needle
- For weaving in ends and sewing pieces together
- Scissors
Stitch Marker
- To keep track of your rounds
Stuffing
- Polyester fiberfill works perfectly
Safety Eyes
- 12 or 15 mm size
Black Felt
- For the nose (alternatively, you can embroider with yarn)
Craft Glue
- Strong adhesive like E6000
Pins
- For positioning pieces before sewing
Stitch shorthand
- r — round
- mr — magic ring
- ch — chain
- sl st — slip stitch
- sc — single crochet
- hdc — half double crochet
- inc — increase
- dec — decrease
- FO — fasten off
Crochet sloth with a hand-embroidered face
Creating the Legs (Make 2)
Start with the first leg:
- Round 1
8 sc in mr (8)
- Round 2
8 inc (16)
- Rounds 3–7
16 sc (5 rounds) FO and leave a small tail for sewing. For the second leg, repeat rounds 1-7 but don’t fasten off – you’ll continue working directly into the body.
Building the Body
- Round 8
To attach the legs, first ch 2, then work 16 sc in the first leg, 2 sc in the previous 2 ch, 16 sc in the second leg, and 2 sc in the same 2 ch again (36)
Tip: If you notice any holes between the legs, use the tail from the first leg to sew them closed.
- Round 9
(5 sc, inc) x 6 (42)
- Rounds 10–15
42 sc (6 rounds)
- Round 16
(5 sc, dec) x 6 (36)
- Rounds 17–18
36 sc (2 rounds)
- Round 19
(4 sc, dec) x 6 (30)
- Round 20
30 sc (30)
- Round 21
(3 sc, dec) x 6 (24)
Now is the time to stuff the body and legs firmly.
- Round 22
(2 sc, dec) x 6 (18)Don’t fasten off – continue directly to the head!
Shaping the Head
- Round 23
18 sc (18)
- Round 24
(2 sc, inc) x 6 (24)
- Round 25
(3 sc, inc) x 6 (30)
- Round 26
(4 sc, inc) x 6 (36)
- Round 27
(5 sc, inc) x 6 (42)
- Rounds 28–32
42 sc (5 rounds)
- Round 33
(5 sc, dec) x 6 (36)
- Round 34
(4 sc, dec) x 6 (30)
- Round 35
(3 sc, dec) x 6 (24)Stuff the head and neck generously to maintain the shape.
- Round 36
(2 sc, dec) x 6 (18)
- Round 37
(1 sc, dec) x 6 (12)
- Round 38
6 dec (6)FO and cinch close by weaving the tail through the front loops and pulling tight. Finish stuffing if necessary before closing completely.
Crafting the Arms (Make 2)
- Round 1
8 sc in mr (8)
- Round 2
8 inc (16)
- Rounds 3–9
16 sc (7 rounds)
- Round 10
(2 sc, dec) x 4 (12)Add stuffing to the arms.
- Round 11
12 sc (12)
- Round 12
(1 sc, dec) x 4 (8)Single crochet shut across. FO and leave a small tail for sewing.
Adding the Hair
Step by step Make a slip knot and ch 5. Sc into the 2nd ch from the hook, then work 2 hdc, followed by sl st. Ch 4, sc into the 2nd ch from the hook, 2 hdc, sl st into the same stitch you previously slip stitched into. Repeat this process two more times until you have 4 hair tufts. FO and leave a tail for sewing.
Creating the Face (in Cream Color)
- Round 1
6 sc in mr (6)
- Round 2
6 inc (12)
- Round 3
(1 sc, inc) x 6 (18)
- Round 4
(2 sc, inc) x 6 (24)
- Round 5
(3 sc, inc) x 6 (30)
- Round 6
30 sc (30)Sl st and FO, leaving a long tail for sewing.
Making the Eye Patches (in Dark Brown Color, Make 2)
- Eye Patch
Make a slip knot and ch 6. Sc into the 2nd ch from the hook and mark that stitch with a stitch marker. Work 3 sc, then 3 sc into the last stitch. Turn your work over and continue with 4 sc, then 3 sc into the last stitch. Sl st into the marked stitch. (14)FO and leave a tail for sewing.
More shots
Where it goes
- A soft bookshelf companion that sits upright next to a stack of paperbacks without toppling over.
- A gift for a nursery shelf, paired with a knit blanket in a matching light brown or cream.
- A desk buddy for a work-from-home setup, tucked beside a mug and a small succulent.
- A travel companion for a tote bag or backpack, small enough to clip on without adding bulk.
Color ideas
- Classic sloth Light brown for the legs, body, head, and arms; cream for the face piece; dark brown for the eye patches and hair detailing.
- Soft reverse Cream for the body, head, and arms; light brown for the face piece; dark brown kept only on the eye patches for contrast.
Care
Hand wash gently in cool water if the piece needs cleaning, since the acrylic-blend yarn and polyester fiberfill can both lose shape under heat or agitation.
Lay the sloth flat to air dry rather than wringing it, and reshape the legs and head by hand while damp.
Store on a shelf rather than in a sealed bag, so the fiberfill stays lofted and the embroidered face keeps its definition.
Assembly
- Step 1 Now comes the fun part – bringing Bonnie to life!
- Step 2 Attach the Arms: Sew the arms beneath the head on either side at round 22 of the body.
- Step 3 Position the Face: Sew the cream-colored face piece to the front of the head.
- Step 4 Add the Eyes: Before sewing on the eye patches, insert your safety eyes through them. Use pins to position the eye patches on the face, then sew them securely. The patches should sit approximately at rounds 3-4 of the face piece. Alternatively, you can glue the eyes in place.
- Step 5 Attach the Hair: Sew the hair tuft to the top of the head for that signature sloth look.
- Step 6 Create the Nose: Cut a small nose shape from black felt and glue it in place, or embroider a nose using black yarn.
Easy to get wrong
Fastening off the second leg too early
Leave the second leg's working yarn attached since you continue straight into the body rounds from there. Only the first leg gets fastened off with a tail for sewing.
Sewing eye patches before inserting safety eyes
Push the safety eyes through the eye patches first, then pin and sew the patches to the face. Doing it the other way makes the eyes nearly impossible to seat evenly.
Leaving gaps where the legs meet the body
Check the join where the two legs attach to the body round for small holes. Use the leftover tail from the first leg to close them before moving on.
Between the songs
- What makes this one satisfying is the layering of techniques in a single small body. You're increasing and decreasing to shape rounded legs and a tapering head, then attaching those legs directly into the body round instead of sewing them on after the fact, which saves a seam and keeps the join invisible. The embroidered cream face and separate dark brown eye patches give you a chance to practice needle work on top of your hook work, so the piece reads as hand-finished rather than assembly-line. Safety eyes go in through the patches before sewing, which is a small sequencing detail that keeps the whole face from looking flat once it's stuffed.
Listener questions
Can I use a different yarn than the one listed?
Yes, any worsted-weight yarn that matches your gauge with a 5mm hook will work fine. Just keep the three color families distinct so the legs, face, and eye patches still read clearly against each other.
Do I need safety eyes, or can I embroider the eyes instead?
The pattern is written for 12 or 15mm safety eyes inserted through the eye patches before sewing. If you'd rather skip hardware, you can embroider the eyes with yarn directly onto the patches instead.
Why does the second leg not get fastened off?
The second leg flows directly into the body round, so leaving the yarn attached lets you keep working without a break. The first leg gets a tail specifically for sewing it to the other side.
How do I keep the embroidered face looking neat?
Work the embroidery on the cream face piece before attaching it to the head, so you have a flat surface to stitch against. Pin the piece in place first and check the placement from a few angles before sewing it down.
Where exactly do the arms attach?
The arms get sewn beneath the head on either side, at the round noted in the body instructions. Pinning them in place first helps you check that both sides sit level before you commit to sewing.
Original pattern: https://amigurumicorner.com/free-crochet-sloth-pattern-easy-amigurumi-tutorial/
About the Author

Marisol QuinteroWho runs Crochet Obsessed, why a stitch count sits at the end of every round, how a pattern gets written here, and the things this site will never do.
More Patterns
- IntermediateNo. 01

Rose Granny Square Tote Crochet Pattern
Rose granny square tote crochet pattern made from 18 dimensional rose squares for a sturdy, romantic everyday bag.
- IntermediateNo. 02
Tropical octopus baby blanket crochet pattern with appliqués
Tropical octopus baby blanket crochet pattern: a cream filet base with coral and turquoise octopus appliqués, leaves, and…
- IntermediateNo. 03
Sunny lemon couple amigurumi crochet pattern
Sunny lemon couple amigurumi crochet pattern with embroidered slices and safety eyes for a cheerful handmade shelf pair.


