- LevelIntermediate
- Time4-6 hours
- Hook5.5 mm
- YarnWorsted
About This Pattern
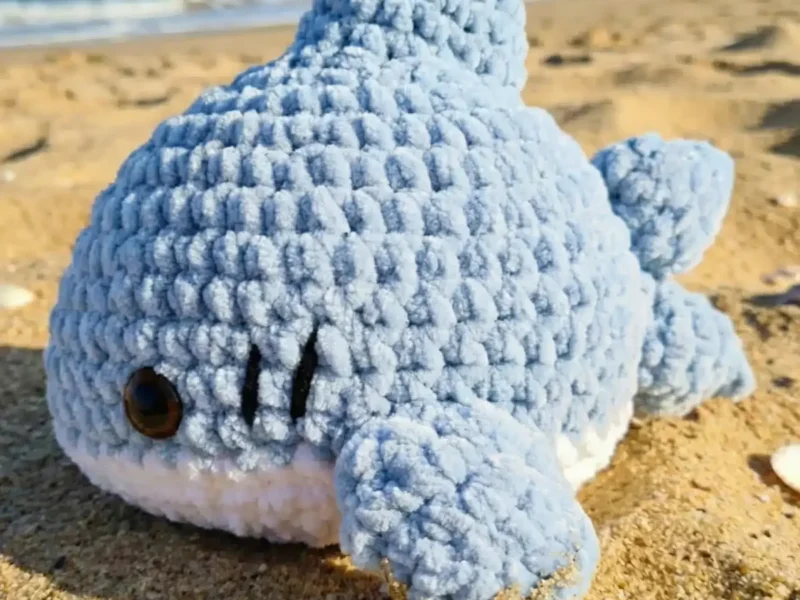
There's something cheerful about a shark that looks like it wants to be your friend instead of your nightmare. This piece leans into that contradiction with a round, soft body and fins that flop rather than slice. The mood is playful ocean, not open-water thriller, and that tension is part of the charm.
Your hands will spend most of their time on steady increase rounds that build the body outward, then shift to smaller repeated pieces for the fins. You'll practice a color change between the light blue body and the white belly panel, which asks for patience more than skill. The side fins, dorsal fin, and tail fins each come together quickly before the real work of sewing begins.
Set this shark on a shelf, a windowsill, or tucked into a kid's bed and it holds its own without demanding attention. The plush yarn gives it a slightly squashy, huggable look rather than a stiff toy-store finish. It reads as handmade in the best way, like something made with a particular person in mind.
- Start the body with a tight magic ring and work steady increase rounds until the shark takes shape.
- Set the body aside and crochet the dorsal fin as a separate small piece.
- Make a pair of side fins using the same increase pattern so they match each other.
- Crochet two tail fins and finish each one off with a long tail left for sewing.
- Stuff the body firmly before closing it up so the shape holds once the fins are attached.
- Position the tail fins stacked above the white belly at the back and sew them tightly to the body.
- Add the safety eyes and any black yarn details last, once all the fins are secured.
On the desk
- this …
Yarn and Tools
- Any yarn of your choice (used Alize Vulluto plush yarn)
- 5.5mm crochet hook
Two yarn colors
- light blue for the body and white for the tummy
- 20mm safety eyes
- Thin black yarn for details
- Sewing needle and scissors
- Fiberfill for stuffing
Pattern Credit
- This adorable pattern is created by @abplushies on Instagram. The finished shark can be posted on social media, but please tag the original designer!
Stitch shorthand
- sc — Single crochet
- inc — Increase
- dec — Decrease
- mr — Magic ring
- R — Round
Crochet a cute shark amigurumi with fins and tail
R3
- Round 1(18)
(1sc, inc) x6 (18 stitches)R5: sc round (9 stitches) Finish off and leave a long tail for sewing. Position both tail fins at the back of the shark, one on top of each other, just above the white belly area. Sew them tightly together against the body.
R4
- Round 1(24)
(2sc, inc) x6 (24 stitches)
R5
- Round 1(30)
(3sc, inc) x6 (30 stitches)
R6
- Round 1(36)
13sc, (inc) x3, 11sc, (inc) x3 (36 stitches)
R7
- Round 1(42)
15sc, (inc) x3, 15sc, (inc) x3 (42 stitches)
R8
- Round 1(45)
16sc, (inc) x3, 23sc (45 stitches)
R9
- Round 1(48)
21sc, (inc) x3, 24sc (48 stitches)
- Round 10
R12: sc round x3 (48 stitches) Switching to White for the Tummy:
R13
- Round 1(48)
sc round (48 stitches)
- Round 14
(2sc, dec) x16 (32 stitches) Important: Add your safety eyes between rounds 11 and 12, placing them 10 stitches apart on the pointed side where the shark’s head is. This placement gives your shark its characteristic cute expression.
R15
- Round 1(22)
(sc, dec) x10, 2sc (22 stitches)
- Round 16
(dec) x11 (11 stitches) Stuff the body firmly with fiberfill. Finish off and leave a long tail for sewing the hole closed.
R2
- Round 1(6)
(inc) x3 (6 stitches)
R3
- Round 1(9)
(sc, inc) x3 (9 stitches)
R4
- Round 1(12)
(2sc, inc) x3 (12 stitches)
R5
- Round 1(15)
(3sc, inc) x3 (15 stitches)
- Round 5
sc round (15 stitches) Finish off and leave a long tail for sewing. When attaching, place the dorsal fin in the middle on top of the shark. Move it one round lower toward the back so it looks more pointy. Sew it securely to the body.
R2
- Round 1(10)
(inc) x5 (10 stitches)
R3
- Round 1(15)
(sc, inc) x5 (15 stitches)
- Round 4
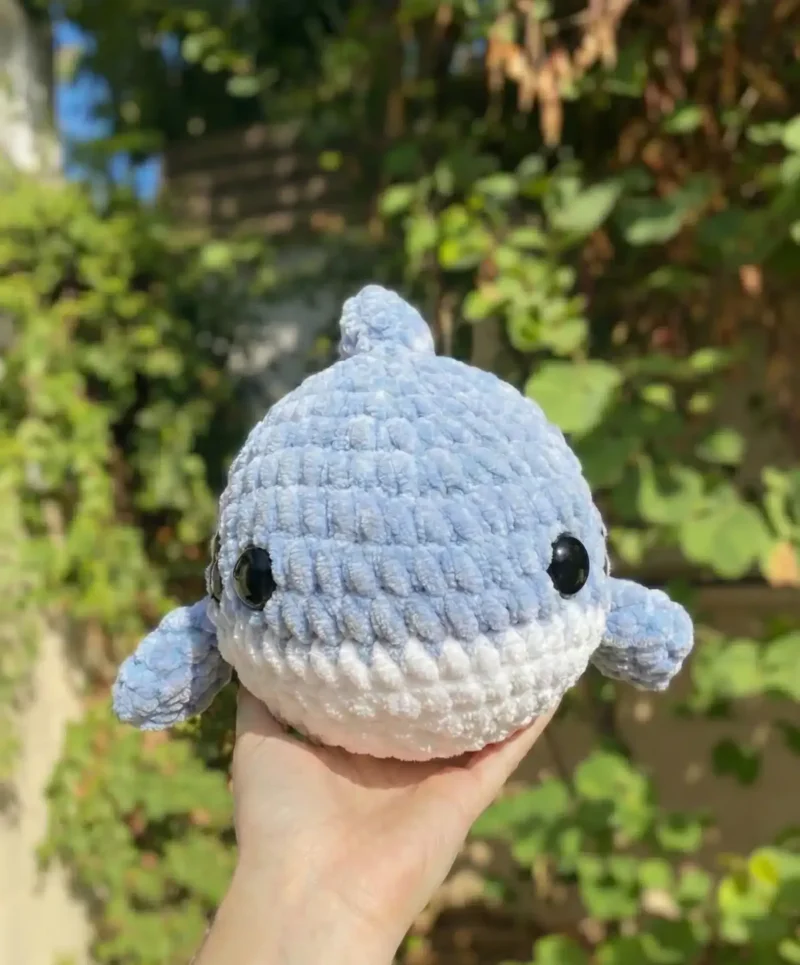
(2sc, inc) x5 (20 stitches) Fold in half to create a half-moon shape and sew the outer edges together. Leave a long tail for sewing. When attaching, sew both side fins in the middle of the blue and white color split, 4 stitches away from the eye. Position the seamed side facing backward for a natural appearance.
More shots
Where it goes
- A desk companion that sits next to your monitor and doesn't mind getting knocked over.
- A nursery shelf piece that pairs well with other soft ocean-themed toys.
- A handmade gift for a kid or adult who collects sea creatures.
- A reading-nook cushion buddy that pairs with a soft blanket for cozy corner styling.
Color ideas
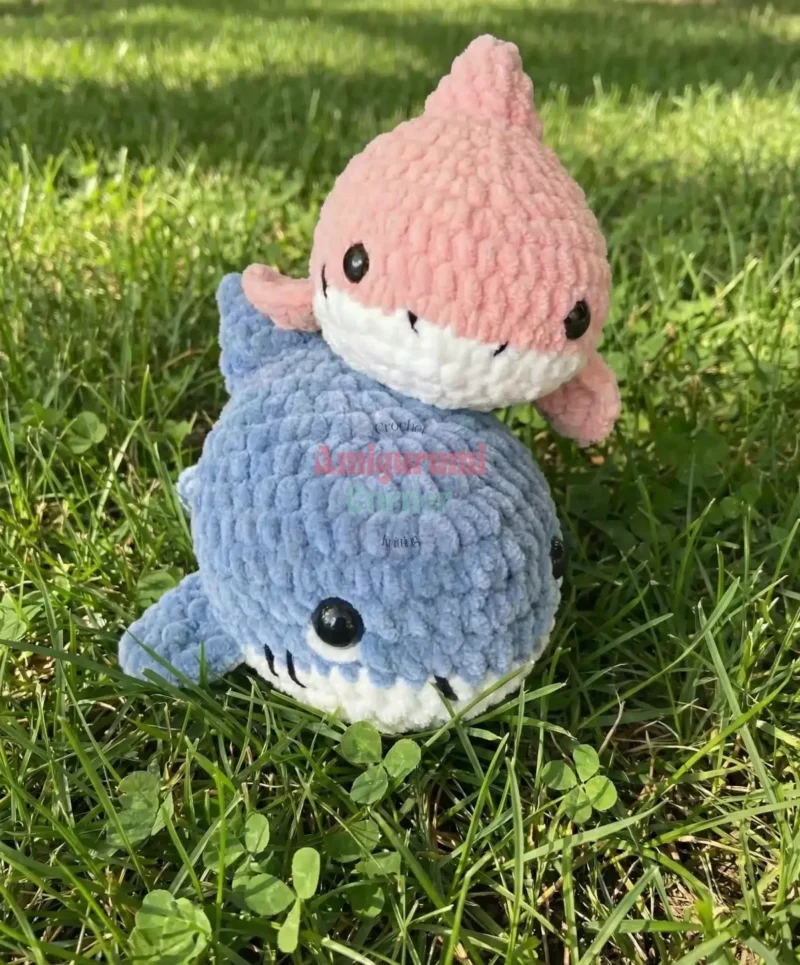
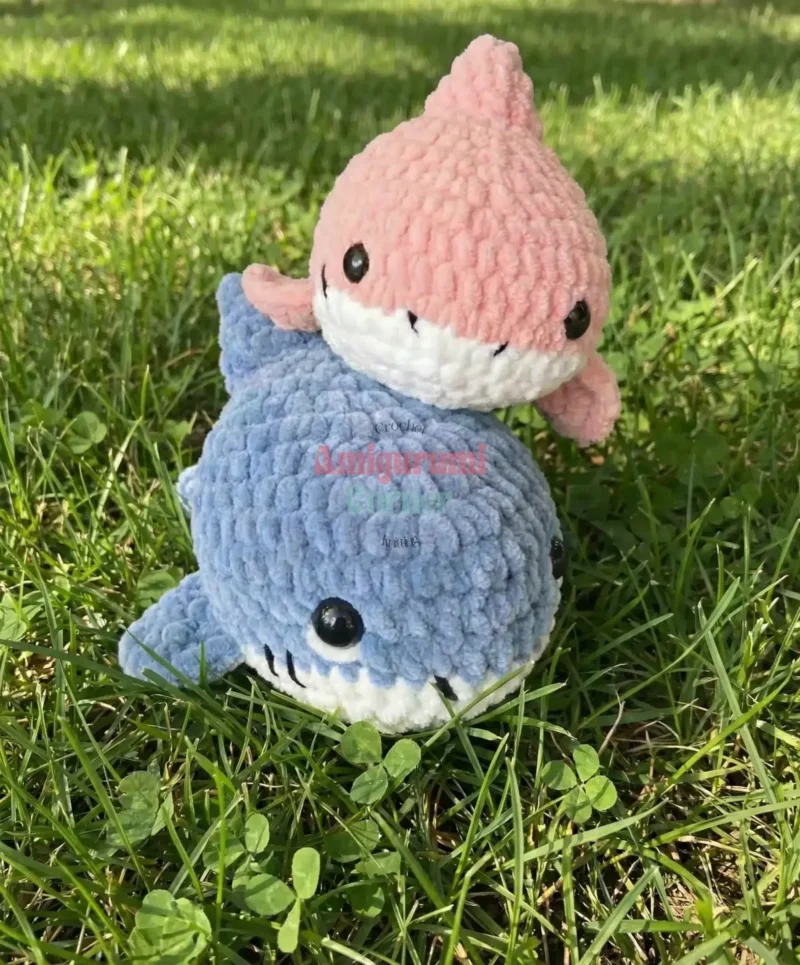
- Classic shark gray-blue Light blue on all body rounds and the dorsal, side, and tail fins, with white reserved for the belly panel rounds.
- Two-tone reef shark A deeper blue on the body rounds with the fins worked in the same light blue for contrast, keeping white only on the tummy section.
Care
Hand wash in cool water since plush yarn like Alize Vulluto can mat or lose its soft texture under hot water or heavy machine agitation.
Reshape the body and fins gently while damp and let the shark air dry flat so the stuffing doesn't shift unevenly.
Store it away from direct sunlight to keep the light blue and white from fading, and keep it uncompressed so the fins hold their shape.
Assembly
- Step 1 Once you crochet cute shark amigurumi and complete assembly, your charming underwater friend is ready! This beginner-friendly project teaches essential amigurumi techniques including increasing, decreasing, color changes, and proper stuffing.
- Step 2 The finished shark makes an excellent handmade gift for ocean lovers, children, or anyone who appreciates cute crochet creatures. Use it as a stuffed toy, desk companion, or nursery decoration. With its friendly expression and soft texture, this shark is sure to become a beloved treasure.
- Step 3 Pro Tips for Success: When you crochet cute shark amigurumi , maintain consistent tension throughout for even stitches. Stuff firmly but gently to maintain the shark’s adorable shape. Don’t skip adding safety eyes—they transform your shark from a simple stuffed toy into an endearing character with personality.
- Step 4 Start your shark project today and discover how rewarding it is to crochet cute shark amigurumi . This pattern provides the perfect introduction to amigurumi crafting while creating something truly special you’ll be proud to display or gift!
Easy to get wrong
Fins sewn on loosely
Use the long tail left at finishing to sew each fin tightly against the body rather than tacking it on at a few points. A loose fin will droop once the shark is handled.
Tail fins placed off-center
Line up both tail fins one on top of the other at the back, just above the white belly, before you start sewing. Pin or hold them in place first so they sit evenly on each side.
Between the songs
- The satisfaction here is in the assembly as much as the stitching. You're not just making a blob with a face, you're attaching a dorsal fin, two side fins, and tail fins, each piece finished off with a long tail so it's ready to sew on without extra steps. The color change from light blue to white across the body rounds is a clean, visible skill you'll actually see every time you look at the finished piece. Placing both tail fins back to back above the white belly is a small assembly trick that gives the tail real dimension instead of a flat triangle. It's a pattern that rewards careful positioning over fast stitching.
Listener questions
What yarn works best for this shark?
A plush yarn like Alize Vulluto gives the finished shark its soft, slightly fuzzy texture. Any yarn you like will work with the same hook, but a plush fiber really suits this particular design.
Do I need safety eyes or can I embroider them instead?
The pattern calls for 20mm safety eyes, which give a cleaner, more secure finish for a toy that may be handled a lot. You can swap in embroidered eyes with thin black yarn if you prefer, especially for a piece going to a very young child.
In what order should I attach the fins?
I like finishing the body and stuffing it first, then adding the dorsal fin, followed by the side fins, and finally the stacked tail fins at the back. Saving the eyes for last makes it easier to check the expression before anything is permanently sewn.
Can I post photos of my finished shark online?
Yes, sharing your finished make is part of the fun of amigurumi. Just tag the original pattern designer when you post, since that credit is part of using this pattern.
Original pattern: https://amigurumicorner.com/crochet-cute-shark-amigurumi-easy-step-by-step-pattern/
About the Author

Marisol QuinteroWho runs Crochet Obsessed, why a stitch count sits at the end of every round, how a pattern gets written here, and the things this site will never do.
More Patterns
- IntermediateNo. 01

Rose Granny Square Tote Crochet Pattern
Rose granny square tote crochet pattern made from 18 dimensional rose squares for a sturdy, romantic everyday bag.
- IntermediateNo. 02
Tropical octopus baby blanket crochet pattern with appliqués
Tropical octopus baby blanket crochet pattern: a cream filet base with coral and turquoise octopus appliqués, leaves, and…
- IntermediateNo. 03
Sunny lemon couple amigurumi crochet pattern
Sunny lemon couple amigurumi crochet pattern with embroidered slices and safety eyes for a cheerful handmade shelf pair.


