- LevelIntermediate
- Time4-6 hours
- Hook6 mm
- YarnSuper Bulky
About This Pattern
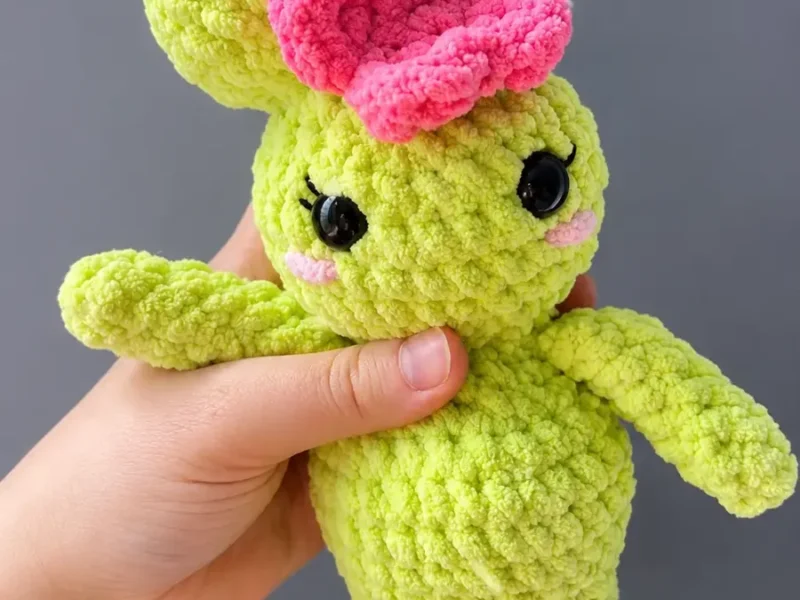
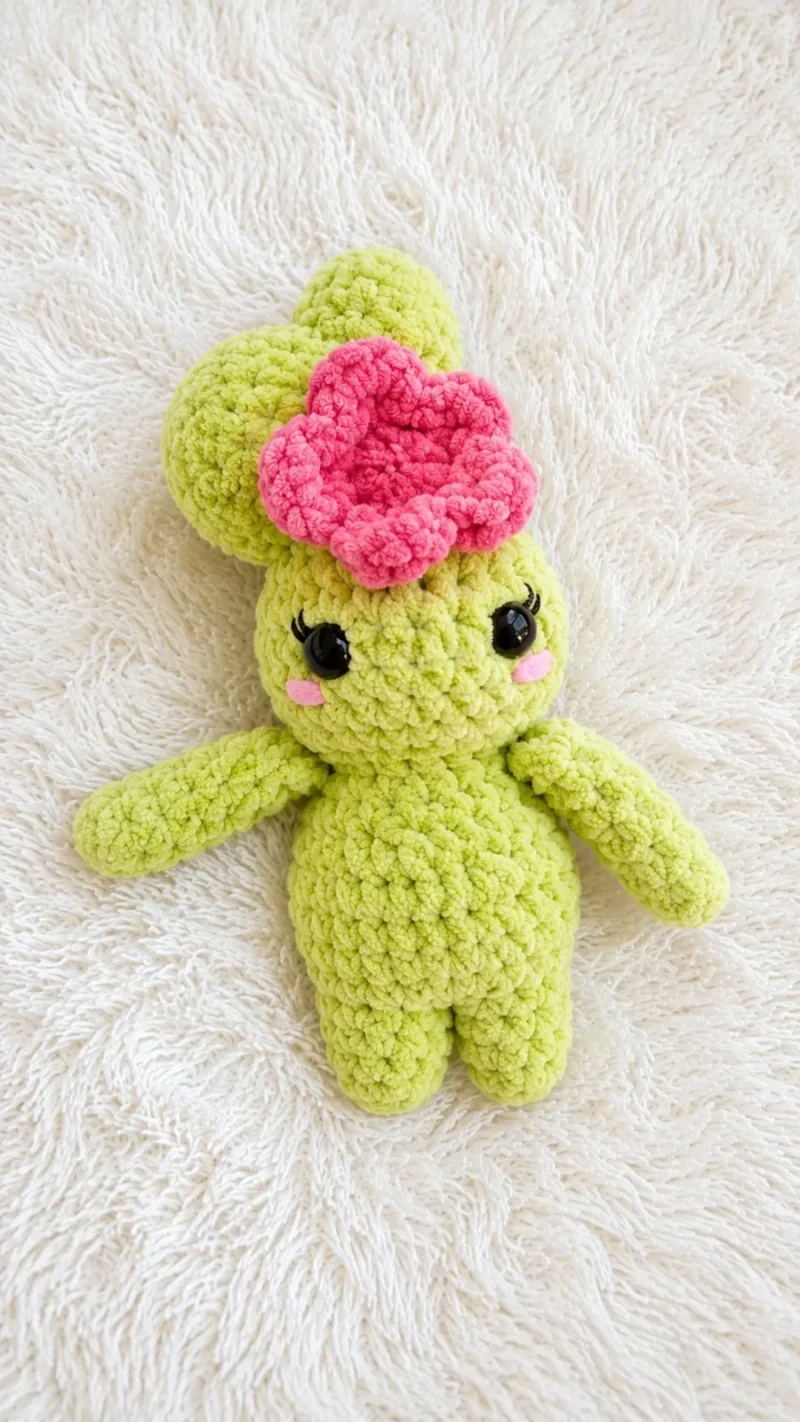
There is something cheerful and a little goofy about this one, like a houseplant that decided to have a personality. The rounded body, the two lopsided stems, and that single flower on top give it a friendly, slightly tipsy charm. I think of it as the plant you cannot kill, because it is already made of yarn.
Your hands get to work mostly in single crochet and the occasional half double and double crochet for the stems, with increases and invisible decreases shaping every curve. It is repetitive in the best way, the kind of making where your fingers settle into a rhythm while your eyes rest. Stuffing the stems firmly is the one place where you slow down and pay attention.
Finished, this little cactus sits happily on a shelf, a desk, or a windowsill with zero watering required. It holds its shape because the stems are packed tight with fiberfill, so it stands at attention instead of flopping over. It is the kind of object that makes people smile before they even ask what it is.
- Work the body first in your main color, continuing straight through without pausing to close any openings.
- Set the body aside and start the large stem, shaping it with single crochet increases and decreases as you go.
- Make the small stem the same way, using fewer rounds since it sits as the shorter companion piece.
- Stuff both stems firmly with fiberfill so they stay upright instead of sagging once attached.
- Pin the small stem onto the large stem first, lining up the top and bottom placement before you sew.
- Sew the joined stems onto the head, angling the smaller piece so it faces toward the center.
- Crochet the flower separately, keeping even tension so the petals flare out evenly.
- Finish by sewing the flower into the middle of the head, just below the stems.
On the desk
- Berant Blanket Yarn (size 6)
- main colour – body and stems
- flower colour
- Size 6 mm (J) Crochet Hook
- Yarn (2 colours)
- Crochet Hook
- Polyfil Stuffing
- Scissors
- Yarn Needle
- Stitch Marker
- Large Needles/Knitting Needles (optional)
Stitch shorthand
- MR — Magic Ring/Circle
- SC — Single Crochet
- HDC — Half Double Crochet
- DC — Double Crochet
- SLST — Slipstitch
- INC — Increase
- DEC — Invisible Decrease
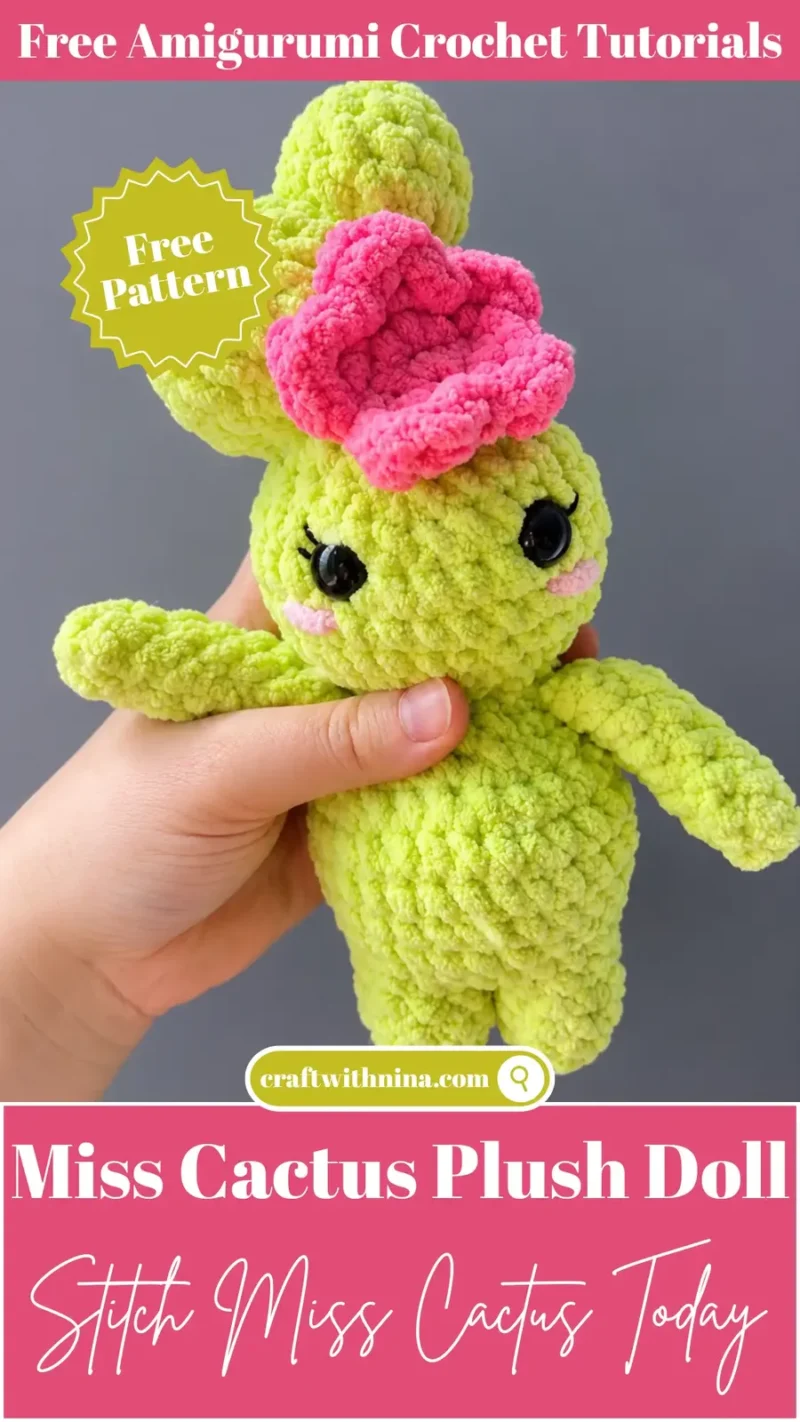
Cactus plush doll crochet pattern with stems and flower
Large Stem
Using main colour.
Fasten off and leave a long tail for sewing. Stuff.
- Round 1
MR 8 SC. (8)
- Round 2
INC around. (16)
- Round 3
(SC 7, INC) x 2. (18)
- Rounds 4–5
(2 rounds): SC around. (18)
- Round 6
(SC 7, DEC) x 2. (16)
- Round 7
DEC around. (8)
Small Stem
Using main colour.
Fasten off and leave a long tail for sewing. Stuff.
- Round 1
MR 6 SC. (6)
- Round 2
INC around. (12)
- Rounds 3–4
(2 rounds): SC around. (12)
- Round 5
DEC around. (6)
Flower
Using flower colour.
Fasten off and leave a long tail for sewing.
- Round 1
MR 10 SC. (10)
- Round 2
(In first stitch HDC, DC, HDC, and next stitch SLST) x 5. (20)
Body
Start the body in the main colour you would prefer. Continue to row 24, fasten off, close opening, and weave in end. Continue with stems.
Do not sew openings closed when finishing stems.
More shots
Where it goes
- A low-maintenance desk companion for anyone who keeps killing real succulents.
- A soft accent piece for a nursery shelf, paired with other plush toys in similar soft colors.
- A housewarming gift for a friend who loves plants but travels too much to keep one alive.
- A windowsill decoration that pairs nicely with woven baskets or ceramic planters for a textured, layered look.
Color ideas
- Classic garden Body and both stems in a true green main color, with the flower worked in a bright pink or coral for contrast.
- Soft desert Body and stems in a muted sage or sage-gray main color, with the flower in a soft buttery yellow for a gentler look.
Care
Spot clean with a damp cloth and mild soap, since blanket yarn can mat if it goes through a full wash cycle.
Air dry flat and reshape the stems gently by hand while they are still slightly damp.
Store upright on a shelf rather than packed in a bin, so the stuffed stems do not get squashed out of shape.
Assembly
- Step 1 Start by sewing the small stem onto the large stem. The top should be between rounds 2/3 and bottom between rounds 5/6.
- Step 2 Sew the large stem to the head, making sure the small piece on top is inward towards the centre of the head. Top of large stem should be between rounds 24/23 and bottom between rounds 22/21.
- Step 3 Add the flower, which is placed in the middle of head, below the large stem.
Easy to get wrong
Sewing stem openings closed
Leave the stem openings open until you are ready to attach them to the head, since the note specifically says not to close them early. Closing them too soon makes stuffing and sewing much harder.
Under-stuffing the stems
Pack the fiberfill in tightly, more than feels necessary, so the stems stand upright once sewn on. A loosely stuffed stem will sag no matter how well you sew it.
Misjudging stem placement rounds
Use the round numbers given for top and bottom placement as a guide and pin everything in place with a long needle before committing to stitches. Sewing without pinning first often leaves the stems crooked or off-center.
Between the songs
- What I love here is the shaping. You build the body in one long continuous piece, then make two separate stems that get their own personality through plain increase and decrease rounds before they are pinned and sewn into place. The invisible decrease keeps the tops of the stems tidy, no gaps, no visible holes, just a clean rounded cap. Working the flower last is a nice reward: five quick petals in a contrasting color against all that green. The whole project is a good exercise in reading shaping instructions and trusting the stuffing to do the structural work instead of the stitches.
Listener questions
What type of yarn works best for this project?
Super bulky size 6 blanket yarn works wonderfully to give this doll a plush, soft feel, but you can also use worsted weight acrylic or cotton if you prefer a smaller plushie.
Do I need to close the open ends of the stems before sewing?
No, leave the open ends of the stems open after stuffing so you can attach them directly onto the main head piece for a flat, sturdy join.
How do I keep the stem pieces positioned correctly while sewing?
Inserting knitting needles or long pins through the stems into the head holds them securely in position so they do not tilt while you stitch them down.
Can I use a different hook size for this pattern?
Yes, but be sure to choose a hook size that creates tight stitches with your chosen yarn weight so the stuffing does not poke through.
Where should the small stem be placed on the large stem?
Attach the top of the small stem between rounds 2 and 3 of the large stem, and secure the bottom between rounds 5 and 6.
Original pattern: https://craftwithnina.com/free-amigurumi-pattern-miss-cactus-plush-doll/
About the Author

Marisol QuinteroWho runs Crochet Obsessed, why a stitch count sits at the end of every round, how a pattern gets written here, and the things this site will never do.
More Patterns
- IntermediateNo. 01

Rose Granny Square Tote Crochet Pattern
Rose granny square tote crochet pattern made from 18 dimensional rose squares for a sturdy, romantic everyday bag.
- IntermediateNo. 02
Tropical octopus baby blanket crochet pattern with appliqués
Tropical octopus baby blanket crochet pattern: a cream filet base with coral and turquoise octopus appliqués, leaves, and…
- IntermediateNo. 03
Sunny lemon couple amigurumi crochet pattern
Sunny lemon couple amigurumi crochet pattern with embroidered slices and safety eyes for a cheerful handmade shelf pair.


