- LevelIntermediate
- Time4-6 hours
- Hook3 mm
- YarnWorsted
About This Pattern
There is something calm about this one, the kind of project that asks you to settle in rather than race through. Every other row you get a breather, a plain pass of single crochet before the next bumps rise up. It feels less like a race to the finish and more like a rhythm you fall into, song after song.
Your hands do learn a new trick here. The bobble stitch wants you to slow your tension and trust the cluster to puff forward on its own. Once you feel it click, your fingers stop hesitating and start moving with a kind of confidence, back and forth between the smooth row and the bumpy one.
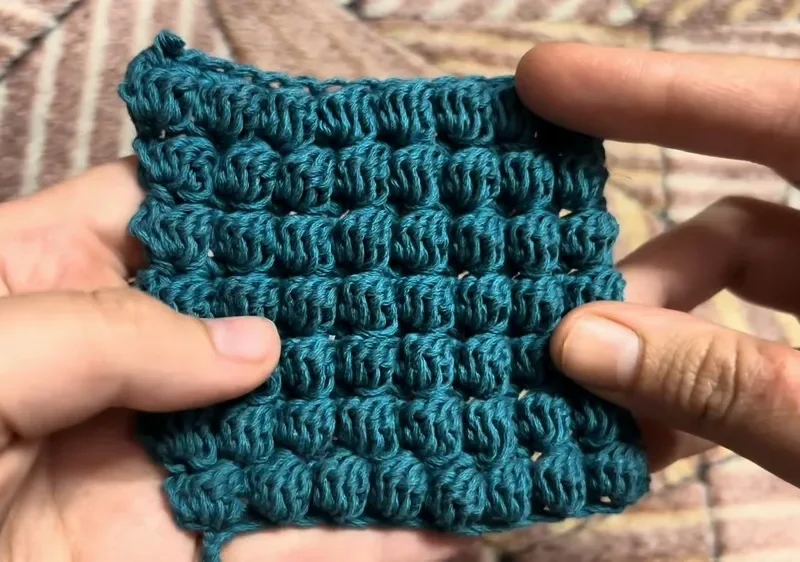
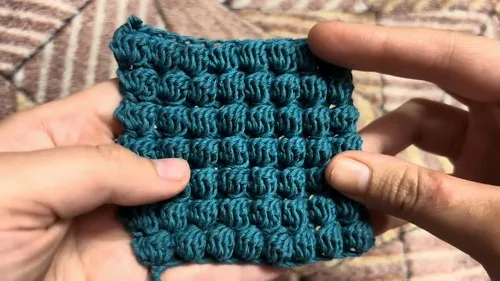
What comes off the hook is a swatch of fabric with real dimension, rows of little raised bumps catching the light against a flat cotton ground. Set on a shelf or held up to a window, it reads as considered texture rather than plain stitching. It is the kind of piece that makes someone reach out and touch it before they ask what it is.
- Start by making a slip knot and chaining a foundation length in a multiple of two stitches.
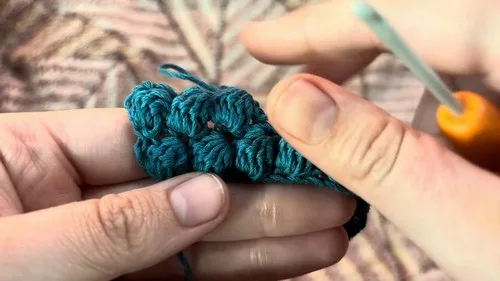
- Work your first bobble row across the foundation to establish the raised texture pattern.
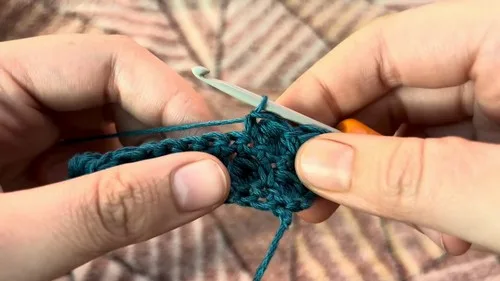
- Chain 1, turn your work, and single crochet into every stitch across the row.
- Notice how that plain row smooths the wrong side and sets up the next bump row.
- Turn again and begin the next bobble row with a chain 3 standing in as your first stitch.
- Keep alternating a bobble row with a single crochet row to build up the textured fabric.
- Watch the bumps line up as you repeat the sequence, checking that each bobble sits above the last.
- Fasten off once you reach the width and length you want for your finished piece.
On the desk
- 100% cotton yarn
- 3 mm crochet hook
Stitch shorthand
- ch — chain
- st — stitch
- sl st — slip stitch
- sc — single crochet
- hdc — half double crochet
- dc — double crochet
- inc — increase
- dec — decrease
- mr — magic ring
- fo — finish off
Learning the bobble stitch for textured crochet fabric
Main Pattern
- Round 1
Starting the Foundation Begin with a slip knot on your hook. Chain stitches in multiples of 2 to your desired width (e.g., chain 16 for a small pouch).
- Round 3
Single Crochet Row Chain 1 and turn your work. Make one single crochet in each stitch across the row.This creates a smoother texture on the wrong side and sets up the base for the next bubble row.
- Round 4
and Beyond: Repeat Creating Bubbles Continue the sequence of alternating the bubble stitch rows and single crochet rows to create a textured fabric.For each new bubble row, start with a chain 3, which counts as the first stitch, and proceed as per Row 2.
Video Guide
More shots
Where it goes
- A small textured pouch for holding a phone, keys, or a lipstick tucked in a bag.
- A swatch you keep in your project bin to reference whenever you forget the bobble rhythm.
- A trivet or coaster set that pairs well with a plain stockinette-look mug cozy.
- A textured panel stitched into a tote front, paired with plain double crochet side panels.
Color ideas
- Tonal contrast Work the plain single crochet rows in a light cream cotton and the bobble rows in a deeper terracotta, so the bumps read as a clear band against the smooth ground.
- Soft blend Keep the entire piece in one dusty sage cotton, letting the bobble rows catch shadow and light rather than color, for a quieter, monochrome texture.
Care
Hand wash the finished piece in cool water with a mild detergent, since cotton holds up well but can shrink slightly in hot water.
Lay it flat on a towel to dry rather than hanging it, which keeps the bobble texture from stretching out of shape.
Store it folded rather than rolled, so the raised bumps stay springy and do not flatten under pressure over time.
Easy to get wrong
Losing your foundation chain multiple
Count your starting chain twice before you begin, since it needs to land in a multiple of two to keep the pattern lined up. A quick recount now saves frustration two rows in.
Forgetting the chain 3 counts as a stitch
When you start a new bobble row, remember that chain 3 stands in for your first stitch rather than being extra. Skipping this shifts your bobble placement out of alignment with the row below.
Pulling single crochet rows too tight
Keep your tension even on the plain rows so the fabric does not pucker between bobble bands. A relaxed, consistent pull keeps the smoother row lying flat against the bumps.
Between the songs
- The satisfaction here is all in the contrast. You alternate a plain single crochet row with a bobble row, and the two textures play off each other in a way that feels almost architectural. Because you start each bobble row with a chain 3 that stands in as your first stitch, there is a clear rhythm to follow, so your hands quickly memorize the count instead of second-guessing it. Working with a smooth 100% cotton yarn on a small 3 mm hook keeps every bump crisp and well-defined, nothing gets lost in fuzz or halo. It is a short, three-round sequence, so you see the payoff fast, and that quick feedback is what makes this one worth sitting down for.
Listener questions
Do I need to know the bobble stitch already before starting?
No, this tutorial walks you through building the bobble rows alongside plain single crochet rows so you learn the rhythm as you go. By the second repeat you will likely have the sequence memorized.
Why does the pattern alternate bobble rows with single crochet rows?
The plain single crochet row smooths out the wrong side of the fabric and gives your bobbles a clean, even base to rise from. Without it, the texture would feel lumpy and uneven on both sides.
Can I use a different fiber instead of cotton?
You can, but cotton has little stretch, which keeps each bobble crisp and well-defined rather than sinking into a fuzzy halo. A smoother fiber generally shows this stitch off best.
Why does the chain 3 count as a stitch on bobble rows?
That chain 3 takes the place of your first stitch in the row, so counting it separately would throw off your total. It is a small detail, but it keeps every bobble row aligned with the one below.
How do I know when to stop repeating the rows?
You keep alternating the bobble and single crochet rows until your swatch or project reaches the size you want. There is no fixed round count beyond the pattern's core sequence, so length is really up to you.
Original pattern: https://crocheteverything.com/crochet-bobble-stitch-tutorial/
About the Author

Marisol QuinteroWho runs Crochet Obsessed, why a stitch count sits at the end of every round, how a pattern gets written here, and the things this site will never do.
More Patterns
- IntermediateNo. 01

Slouchy everyday beanie worked flat in half double crochet
Crochet beanie pattern for a slouchy everyday look worked flat with hdc rows, then seamed into a soft,…
- IntermediateNo. 02
Crochet amigurumi doll with dress, shoes, and hat
Crochet amigurumi doll pattern with dress, shoes, and hat details for a soft, huggable keepsake you build one…
- IntermediateNo. 03
Chunky moss stitch crochet sweater with raglan-free shoulders
Chunky crochet sweater pattern using moss stitch, worked flat with a 10mm hook for a soft, fast, cool-weather…


