- LevelIntermediate
- Time4-6 hours
- Hook2.0 mm
- YarnFingering/Sport
About This Pattern
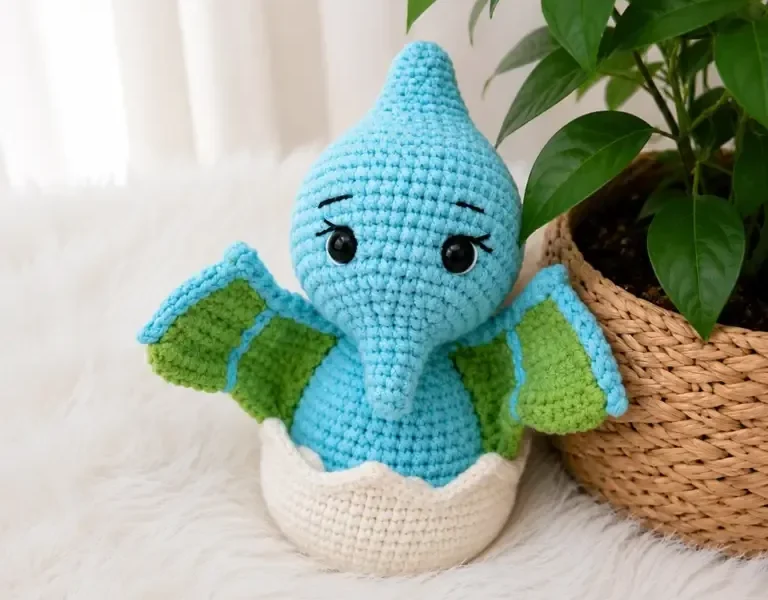
This little guy has a soft, sleepy charm, the kind of project that feels less like a dinosaur and more like a bedtime companion. He is prehistoric in shape but nursery-shelf gentle in spirit. I love that a creature with wings and a crest can still look like something you would tuck under a chin.
Finished, he sits somewhere between a shelf toy and a soft sculpture, all curves and no sharp edges. Set him on a windowsill or a stack of books and he reads as playful without being loud. He is the kind of piece a kid picks up first and a grown-up leaves out on purpose.
This pattern is written in US crochet terminology. Gauge is not critical for amigurumi, but a tight, even tension is essential so the stuffing doesn't show through the fabric.
- Start the head with a magic ring and build it upward through a continuous spiral of increase rounds.
- Continue into the body using the same spiral technique, tracking your first stitch with a marker throughout.
- Crochet the contrasting belly oval separately so it can be whipstitched onto the front later.
- Work both wings flat in rows, turning at the end of each row and mixing stitch heights for a fanned shape.
- Shape the tail with its own increase rounds, tapering it down to a point.
- Make the two legs and the small crest piece to complete every component before assembly.
- Stuff each piece firmly with fiberfill as you go, keeping the tension tight and even.
- Whipstitch the head, belly, wings, tail, legs, and crest onto the body to finish the amigurumi.
On the desk
Yarn
- Fingering or Sport weight yarn in your chosen base color (body, head, wings) and a contrasting color for the belly
Hook Size
- B-1 / 2.0 mm (or size appropriate for your yarn to achieve a tight amigurumi fabric)
Safety Eyes
- 6 mm, 1 pair
Stuffing
- Polyester fiberfill
Other Supplies
- Stitch Marker: To mark the beginning of each round
- Yarn Needle / Tapestry Needle: For assembly and weaving in ends
- Scissors
Stitch shorthand
- BLO — Back Loop Only
- ch — Chain
- dc — Double Crochet
- dec — Decrease (invisible decrease recommended)
- hdc — Half Double Crochet
- inc — Increase (2 sc in same stitch)
- MR — Magic Ring
- sc — Single Crochet
- sk — Skip
- sl st — Slip Stitch
- st / sts — Stitch / Stitches
- tr — Treble Crochet
Baby pterodactyl amigurumi pattern for beginners
Head
- Round 1
6 sc in MR. (6)
- Round 2
inc in each st around. (12)
- Round 3
sc, inc repeat 6 times around. (18)
- Round 4
2 sc, inc repeat 6 times around. (24)
- Round 5
3 sc, inc repeat 6 times around. (30)
- Round 6
4 sc, inc repeat 6 times around. (36)
- Rounds 7–12
sc in each st around. (36)
- Round 13
4 sc, dec repeat 6 times around. (30)Insert safety eyes between Rnds 9 and 10, approximately 6–8 stitches apart. Begin stuffing the head firmly.
- Round 14
3 sc, dec repeat 6 times around. (24)
- Round 15
2 sc, dec repeat 6 times around. (18)
- Round 16
sc, dec repeat 6 times around. (12)
- Round 17
dec 6 times around. (6)Fasten off, leaving a long yarn tail. Close the opening and weave in the end, or leave the tail for attaching to the body.
Body
- Round 1
6 sc in MR. (6)
- Round 2
inc in each st around. (12)
- Round 3
sc, inc repeat 6 times around. (18)
- Round 4
2 sc, inc repeat 6 times around. (24)
- Round 5
3 sc, inc repeat 6 times around. (30)
- Rounds 6–12
sc in each st around. (30)
- Round 13
3 sc, dec repeat 6 times around. (24)
- Round 14
2 sc, dec repeat 6 times around. (18)Begin stuffing the body firmly at this point.
- Round 15
sc, dec repeat 6 times around. (12)
- Round 16
dec 6 times around. (6)Fasten off, leaving a long yarn tail for attaching the head.
Belly (worked in contrasting color)
- Round 1
6 sc in MR. (6)
- Round 2
inc in each st around. (12)
- Round 3
sc, inc repeat 6 times around. (18)
- Round 4
2 sc, inc repeat 6 times around. (24)
- Rounds 5–6
sc in each st around. (24)Fasten off, leaving a long yarn tail. This flat oval will be sewn onto the front of the body.
Wing (make 2)
Wings are worked flat in rows. Chain a foundation chain, then turn at the end of each row.
Foundation Chain: ch 16.
- Round 1
starting in the 2nd ch from hook — sc, hdc, dc, tr, tr, tr, dc, dc, hdc, sc, sc, hdc, dc, tr, tr. Turn. (15 sts)
- Round 2
ch 1, sc in each st across. Turn. (15)
- Round 3
ch 1, sc, hdc, dc, tr, tr, dc, hdc, sc, sc, hdc, dc, tr, dc, hdc, sc. Turn. (15)
- Round 4
ch 1, sc in each st across. (15)Fasten off, leaving a long yarn tail for attachment. The shaped edge of Row 1/Row 3 forms the scalloped outer wing profile.
Tail
- Round 1
4 sc in MR. (4)
- Round 2
inc in each st around. (8)
- Round 3
sc in each st around. (8)
- Round 4
sc, inc repeat 4 times around. (12)
- Round 5
sc in each st around. (12)
- Round 6
sc, dec repeat 4 times around. (8)
- Round 7
sc in each st around. (8)Fasten off, leaving a long tail. Stuff lightly.
Leg (make 2)
- Round 1
6 sc in MR. (6)
- Round 2
inc in each st around. (12)
- Round 3
BLO — sc in each st around. (12)
- Rounds 4–7
sc in each st around. (12)
- Round 8
sc, dec repeat 4 times around. (8)Fasten off, leaving a long yarn tail. Stuff lightly.
Crest (head fin)
The crest and beak are small pieces — leave a long starting tail for easy attachment.
Foundation Chain: ch 10.
- Round 1
starting in the 2nd ch from hook — sc, sc, hdc, dc, tr, tr, dc, hdc, sc. (9 sts)Fasten off, leaving a long yarn tail. This narrow, tapered crest will be sewn along the top of the head.
Beak
The crest and beak are small pieces — leave a long starting tail for easy attachment.
- Round 1
4 sc in MR. (4)
- Round 2
inc in each st around. (8)
- Round 3
sc, inc repeat 4 times around. (12)
- Rounds 4–5
sc in each st around. (12)
- Round 6
sc, dec repeat 4 times around. (8)Do not stuff. Flatten and fasten off, leaving a long yarn tail for sewing.
More shots
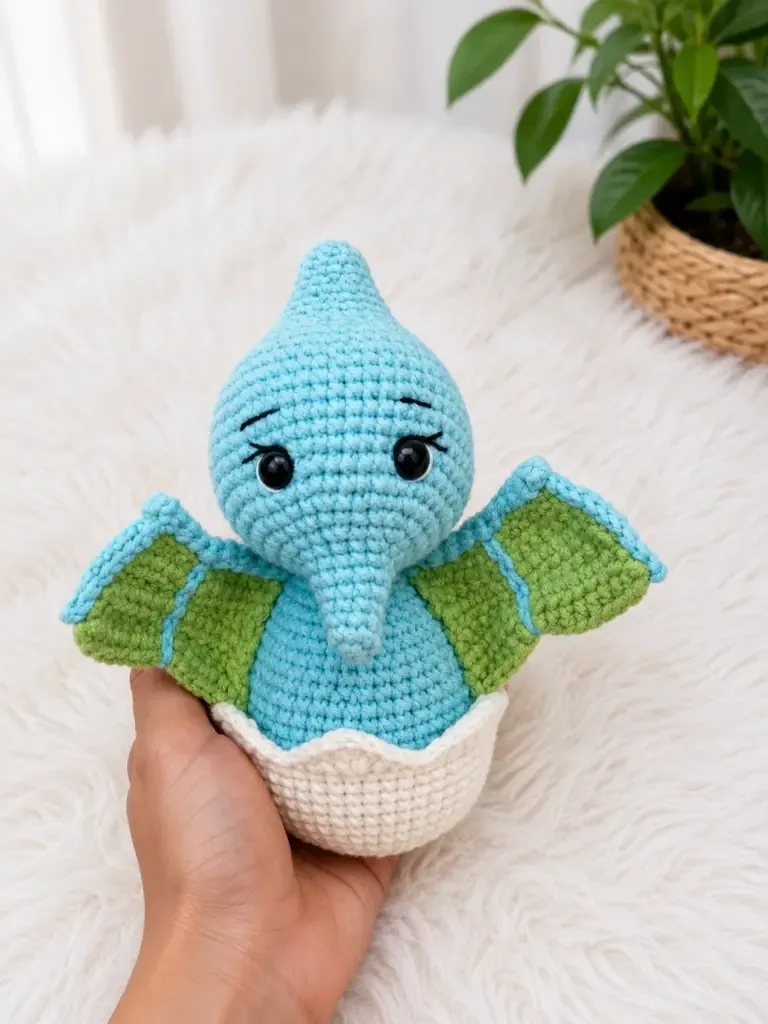
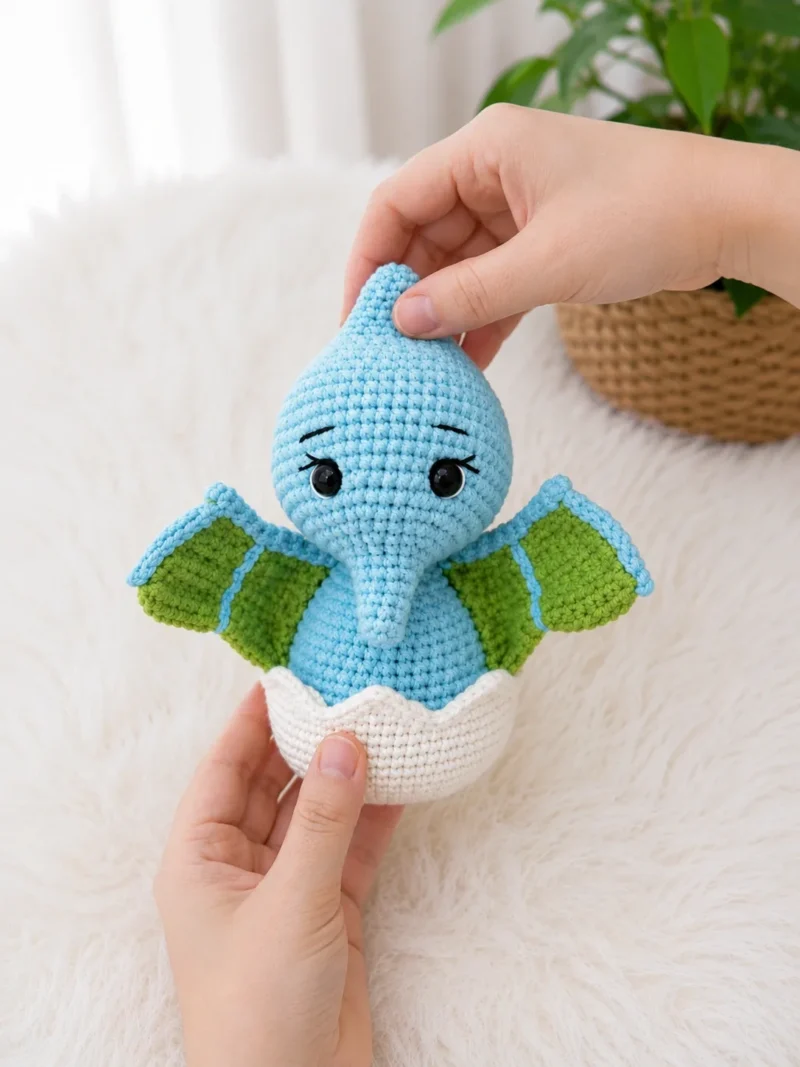
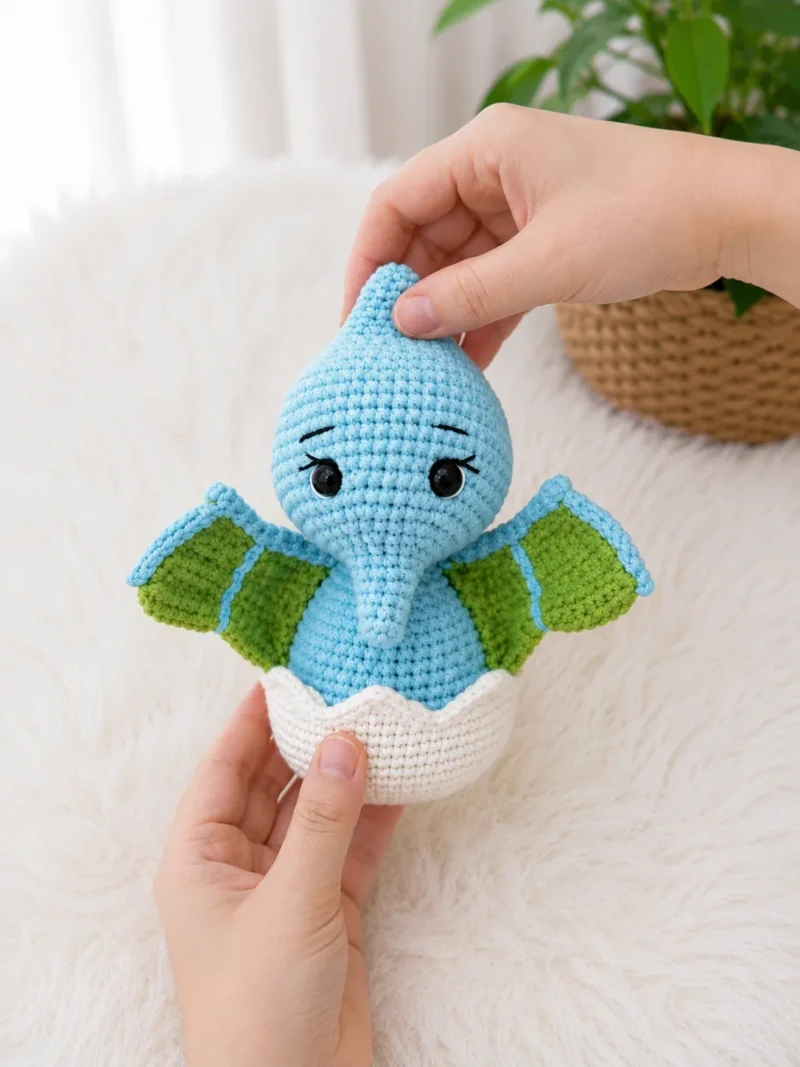
Where it goes
- A nursery shelf companion that pairs nicely with other soft amigurumi animals in a similar size.
- A quiet-play toy for a toddler who likes creatures with wings to flap and a tail to grip.
- A desk or bookshelf accent for anyone who collects small handmade figures with personality.
- A thoughtful handmade gift for a baby shower or new-baby visit, paired with a soft blanket.
Color ideas
- Classic sandy dino Work the head, body, wings, tail, and legs in a warm tan or olive, and crochet the belly oval in a soft cream contrast.
- Soft dusty rose Use a muted dusty rose for the head, body, wings, legs, and tail, with the belly worked in a pale blush contrast for a gentler, nursery-friendly look.
Care
Hand wash gently in cool water if needed, since fingering or sport weight yarn can stretch when agitated or wrung.
Lay the toy flat to air dry, reshaping the wings and tail with your fingers while damp so they keep their crocheted shape.
Store on a shelf or in a fabric bin rather than a tight bag, so the fiberfill stays fluffy and the tight amigurumi fabric keeps its shape.
Assembly
- Step 1 Attach the head to the body. Position the head at the closed end of the body, aligning the openings. Using the yarn tail from the body, sew the head to the body using a whipstitch around the entire join, pulling firmly to close any gap.
- Step 2 Sew on the belly. Center the belly oval on the front of the body and pin in place. Using the yarn tail, sew around the edge of the belly piece with a whipstitch, catching just the outer edge so it lays flat.
- Step 3 Attach the beak. Flatten the beak piece and position it centrally on the front of the head, just below the safety eyes. Sew securely using the yarn tail.
- Step 4 Sew on the crest. Pin the crest along the top center of the head, running from just behind the beak toward the back of the head. Sew down using the yarn tail, catching both sides of the base to keep it upright.
- Step 5 Attach the wings. Position one wing on each side of the body, just below where the head joins. The shaped, scalloped edge should face outward and slightly forward. Sew each wing down along its straight inner edge using the yarn tail and a whipstitch.
- Step 6 Sew on the legs. Position both legs at the base of the body, evenly spaced. The BLO ridge from Rnd 3 creates a natural foot-like flare at the base — orient this facing forward. Sew each leg firmly using the yarn tail.
- Step 7 Attach the tail. Position the tail at the back base of the body, opposite the legs. Sew firmly using the yarn tail.
- Step 8 Weave in all remaining ends securely on the wrong side of each piece.
Easy to get wrong
Losing track of the spiral start
Since the head and body are worked without joining or chaining, drop a stitch marker into the first stitch of every round the moment you finish it, before you crochet on.
Belly piece puckering when sewn
Whipstitch only through the outer edge of the contrast belly oval, pulling even, gentle tension so it lies flat against the body instead of cupping.
Listener questions
What weight yarn does this pattern use?
The pattern calls for fingering or sport weight yarn in a base color for the body, head, and wings, plus a contrasting color for the belly. A B-1 / 2.0 mm hook, or whatever size gives you a tight fabric, keeps the fiberfill from peeking through.
Why are the wings worked differently from the body?
The head and body are worked in a continuous spiral with no joins, while the wings are worked flat in rows with turns. That flat construction is what lets the wing take on its fanned, membrane-like shape through varied stitch heights.
Do I need to join or chain at the end of body rounds?
No, the body and head are worked in a continuous spiral, so you never join or chain between rounds. A stitch marker placed at the start of each round is essential for keeping track of where you are.
How is the belly attached?
The belly oval is crocheted separately in the contrasting color, then centered on the front of the body and pinned in place. You whipstitch around the outer edge to attach it, catching just the edge so it lies flat.
Is this a good pattern for a beginner?
It suits a confident beginner who has already tried a simple amigurumi, since the spiral rounds are straightforward but the wings introduce mixed stitch heights in flat rows. Taking the wings slowly, row by row, makes the jump manageable.
Original pattern: https://amistitch.com/crochet-baby-pterodactyl-amigurumi-pattern/
About the Author

Marisol QuinteroWho runs Crochet Obsessed, why a stitch count sits at the end of every round, how a pattern gets written here, and the things this site will never do.
More Patterns
- IntermediateNo. 01

Slouchy everyday beanie worked flat in half double crochet
Crochet beanie pattern for a slouchy everyday look worked flat with hdc rows, then seamed into a soft,…
- IntermediateNo. 02
Crochet amigurumi doll with dress, shoes, and hat
Crochet amigurumi doll pattern with dress, shoes, and hat details for a soft, huggable keepsake you build one…
- IntermediateNo. 03
Chunky moss stitch crochet sweater with raglan-free shoulders
Chunky crochet sweater pattern using moss stitch, worked flat with a 10mm hook for a soft, fast, cool-weather…


