- LevelIntermediate
- Time4-6 hours
- Hook4 mm
- YarnWorsted
About This Pattern
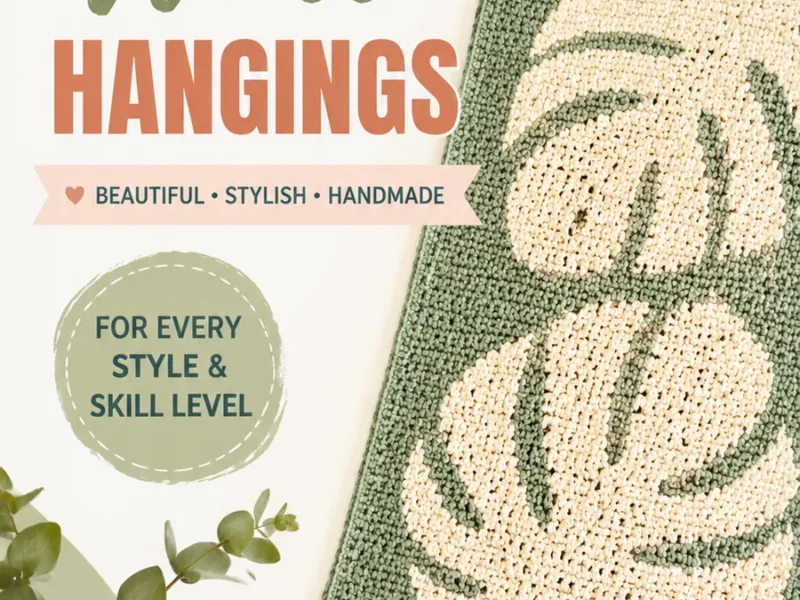
This one has that quiet, settled feeling, like a sunny corner of a room that doesn't try too hard. The cream base reads calm and a little rustic, and the aqua lines drift across it the way a vine might lean toward a window. Nothing about it shouts. It just sits there looking intentional.
Your hands get a steady rhythm first, row after row of single crochet building a firm little rectangle. Then things shift. You pick up aqua yarn and start tracing surface slip stitches across the finished fabric, which asks for a looser, more improvisational hand than the rows did.
Hung on its dowel with fringe skimming the bottom, this panel turns a blank wall into a soft focal point. It works above a bed, behind a reading chair, or tucked into a hallway that needs one good thing to look at. It is the kind of piece guests ask about.
The finished panel measures approximately 12 x 18 inches (30.5 x 46 cm), excluding fringe, worked at a gauge of 18 single crochet stitches by 20 rows to 4 inches (10 cm) using US crochet terms. Checking your gauge before starting helps keep the panel the right width and height for the dowel.
the best texture, choose a smooth cotton or cotton-blend yarn with good stitch definition, since this keeps the raised surface stitches visible and helps the hanging hold its shape.
- Start at the bottom edge and work single crochet rows back and forth to build a solid cream fabric.
- Keep every row the same stitch count so the rectangle stays straight instead of curving or tapering.
- Once the panel is finished, lay it flat with the right side facing up for the decorative stage.
- Work surface slip stitches in aqua through the fabric to trace curved, plant-like lines across the surface.
- Dampen the finished panel and shape it flat, letting it dry completely before any further assembly.
- Attach the dry panel to the wooden dowel so it hangs evenly along its top edge.
- Cut, fold, and knot yarn fringe along the bottom edge, then trim it to the look you want.
On the desk
- Medium weight cotton or cotton-blend yarn in cream, approximately 350 yards (320 meters).
- Medium weight yarn in aqua, approximately 150 yards (137 meters).
- 4 mm crochet hook (US G/6).
- Wooden dowel approximately 14 inches (35.5 cm) long.
- Yarn needle.
- Scissors.
- Measuring tape.
Stitch shorthand
- ch — chain
- sc — single crochet
- sl st — slip stitch
- st — stitch
- RS — right side
- WS — wrong side
- rep — repeat
Textured boho wall hanging with cream and aqua crochet
Main Pattern
The panel is worked from bottom to top in rows. Turning chains do not count as stitches. Each row should contain the same number of stitches to maintain a straight rectangle.
- Foundation Row
With cream yarn, chain 56.
- Row 1
Sc in second ch from hook and across. Turn. (55 sc)
- Row 2
Ch 1, sc in every stitch across. Turn. (55 sc)Rows 3-35: Repeat Row 2 until the panel measures approximately 7 inches (18 cm).
- Row 36
Change to aqua yarn. Ch 1, sc across. Turn. (55 sc)
- Rows 37–55
Continue with aqua yarn in single crochet. Ch 1, sc across. Turn. (55 sc)
- Row 56
Return to cream yarn. Ch 1, sc across. Turn. (55 sc)
- Rows 57–70
Continue cream yarn in single crochet. Turn each row. (55 sc) Fasten off and weave in all yarn ends securely.
Special Stitch
Surface slip stitch detail: After the crochet panel is complete, use aqua yarn to work slip stitches along selected areas of the surface. Insert the hook from front to back through the fabric, pull up a loop, and complete a slip stitch on the surface. This creates raised decorative lines.
Adding the Decorative Motif
Place the panel flat with the right side facing upward.
Using aqua yarn, create curved botanical-inspired lines with surface slip stitches.
Add small accent shapes by working short groups of surface stitches.
Keep the design balanced but allow slight variations for a handmade appearance.
Where it goes
- Hang it above a headboard or reading nook to add texture without clutter on the shelves below.
- Use it as a backdrop for a small gallery wall, pairing it with woven baskets or ceramic planters.
- Give it as a housewarming piece for someone setting up a first apartment with a neutral palette.
- Hang it in a studio or home office where a soft, handmade detail softens a lot of hard surfaces.
Color ideas
- Classic cream and aqua Cream covers the base rows through the main body, aqua takes over for the upper rows, and aqua surface slip stitches trace the decorative lines on top.
- Soft neutral swap Replace the aqua accent yarn with a dusty terracotta or sage for the upper rows and the surface slip stitch lines, keeping cream as the base throughout.
Care
Spot clean the panel with a damp cloth whenever possible, since the cotton and cotton-blend yarn holds its shape best with minimal washing.
If a full wash is needed, follow the yarn label and let the piece dry flat, reshaping it gently while still damp.
Store the finished hanging rolled rather than folded, and keep it away from damp closets to protect the cotton fiber.
Assembly
- Step 1 After completing the crochet panel, gently block the piece by lightly dampening it and shaping it flat. Allow it to dry completely before attaching the dowel.
- Step 2 Fold the top edge of the panel toward the back by approximately 1 inch (2.5 cm).
- Step 3 Use cream yarn and a whip stitch seam to create a channel for the dowel.
- Step 4 Slide the wooden dowel through the channel.
- Step 5 Attach a yarn loop at both ends for hanging.
- Step 6 Cut 20 to 30 pieces of yarn approximately 10 inches (25 cm) long and fold each strand in half.
- Step 7 Attach fringe evenly along the bottom edge using a lark's head knot.
- Step 8 Trim the fringe evenly or leave it naturally textured.
Easy to get wrong
Losing the stitch count mid-row
Count your stitches at the end of every row before turning, since a single missed or added stitch will warp the rectangle over many rows. Recount from the last row you are sure of if the panel starts to flare.
Surface slip stitches pulled too tight
Keep the slip stitch loops relaxed as you work them through the fabric front to back, since tight loops pucker the panel instead of lying flat. Aim for the same tension you use for a regular slip stitch join.
Skipping the blocking step
Don't attach the dowel before the panel has been dampened, shaped flat, and fully dried, or the rectangle may hang unevenly. Give it the full drying time before moving on to fringe and dowel.
Fabric feels too loose
Try a smaller hook size if your stitches feel too open, since a dense single crochet fabric holds its shape and texture better than one worked too loosely.
Skipping the gauge check
Always check your gauge and read through the complete pattern before starting, since gauge differences can leave the wall hanging too narrow, too wide, or hard to attach to the dowel.
Listener questions
What skill level does this wall hanging actually require?
It's listed as easy to intermediate, and that's accurate: the single crochet rows are beginner-friendly, while the surface slip stitch motif asks for a bit more confidence. If you've never done surface slip stitch before, practice a short line on a swatch first.
Can I change the color combination from cream and aqua?
Yes, the construction doesn't depend on these specific colors at all. Swap in any two colors you like, keeping the lighter one as the base and the accent for the upper rows and surface lines.
Do I need any special stitches besides single crochet?
The only other technique is the surface slip stitch, worked after the panel is complete by inserting the hook from front to back through the fabric. It's the same slip stitch motion you already know, just applied on the surface instead of in a row.
How do I keep my rectangle from curving or tapering?
Keep the same number of stitches in every row and check your count before turning. Turning chains don't count as stitches here, so make sure you're not accidentally working into them.
Is blocking really necessary before attaching the dowel?
Yes, blocking squares up the panel and gives it a flat, finished look before it takes on the weight of hanging. Skipping it can leave the rectangle slightly uneven once it's displayed.
Original pattern: https://duniarecipe.com/easy-crochet-wall-hanging-ideas-for-diy-boho-home-decor/
About the Author

Marisol QuinteroWho runs Crochet Obsessed, why a stitch count sits at the end of every round, how a pattern gets written here, and the things this site will never do.
More Patterns
- EasyNo. 01

Space Granny Square: Free Crochet Pattern for a Saturn-Style Planet Motif
Free space granny square crochet pattern: a textured Saturn-like planet with a crocheted rope ring, sewn onto a…
- IntermediateNo. 02
Rose Granny Square Tote Crochet Pattern
Rose granny square tote crochet pattern made from 18 dimensional rose squares for a sturdy, romantic everyday bag.
- IntermediateNo. 03
Tropical octopus baby blanket crochet pattern with appliqués
Tropical octopus baby blanket crochet pattern: a cream filet base with coral and turquoise octopus appliqués, leaves, and…